Virtual Classroom Advanced Settings
Advanced Virtual Classroom Advanced Settings feature will help you modify your participants’ permissions before the session starts. You can get full control of what your students can do and see in the room before opening it.
Location
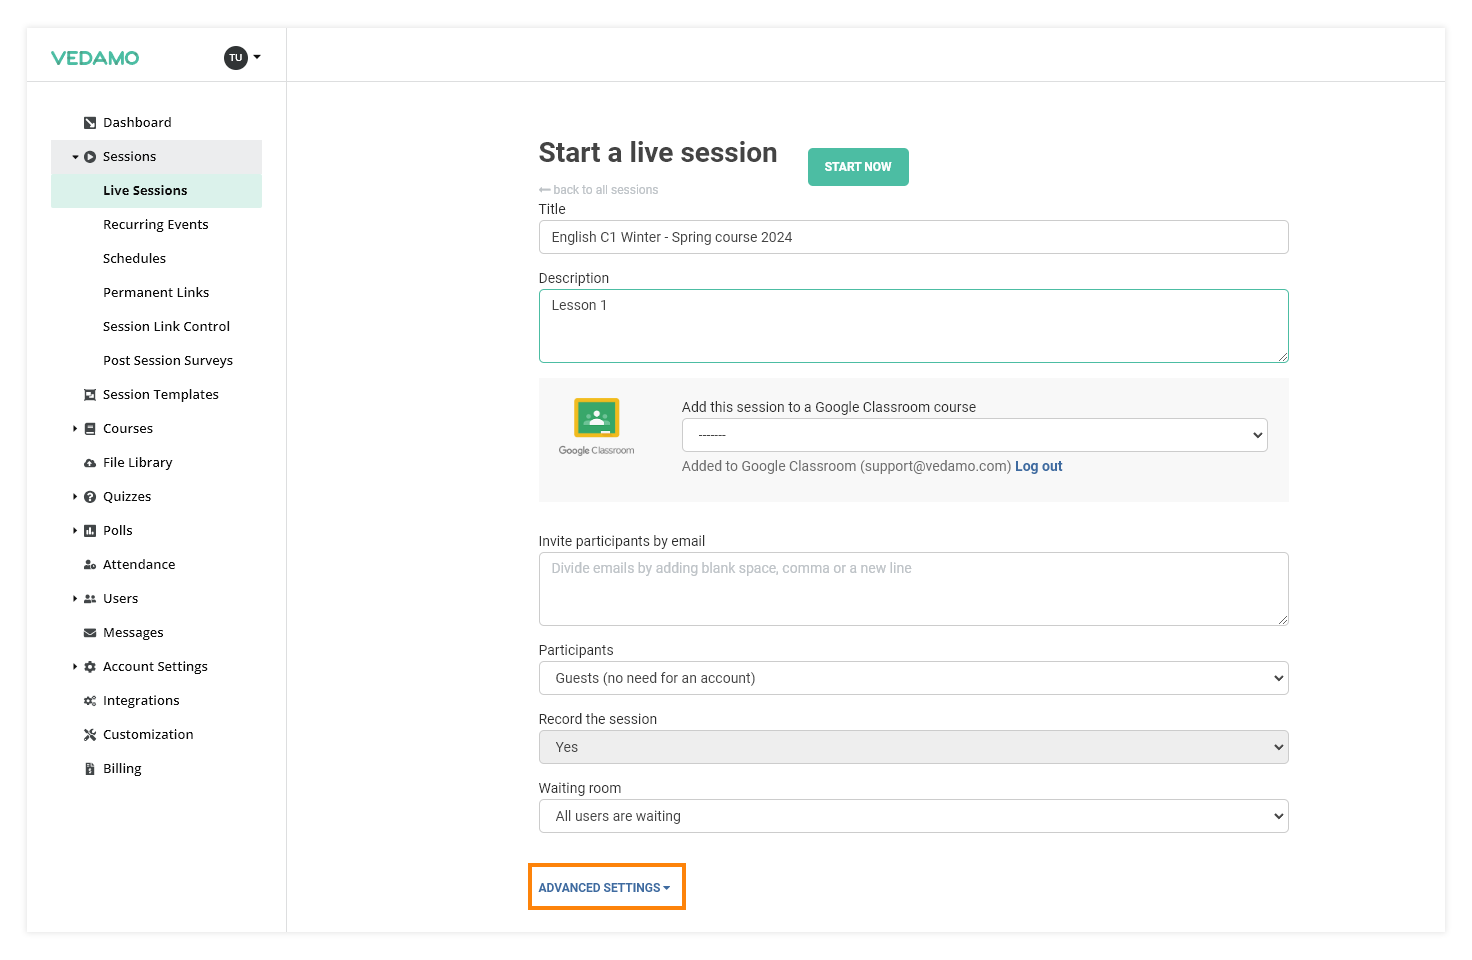
In order to access the Advanced settings menu, click on the Sessions menu tab (1) from the left-side menu. Then select Live Sessions (2) and finally click on the Start a live session button (3).

On the virtual classroom creation page, you will see the Advanced settings option. Click on it to expand the menu.
The first section in the Advanced settings is Room Access.
This category allows you to select whether the participants need to wait for the teacher, not able to enter the virtual room, or they will be able to enter the virtual room even if the teacher hasn’t entered yet.

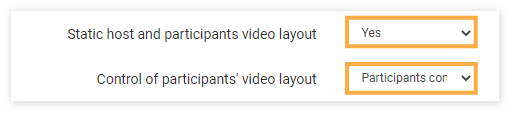
Part of the same section is the controls for the Static mode as well as the control over the participants’ video layout.
The last option in this section is the Simple view, this setting toggles the Simple view mode on/off prior to starting the session.

The next section is System Check.
Here you can set on or off the system check, and also whether to perform it only once on a specific device.

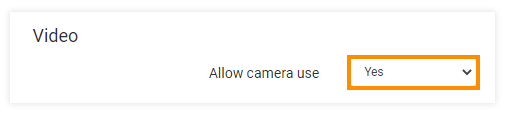
Next is the Video section.
With this option, you can disable or enable the participant’s cameras.
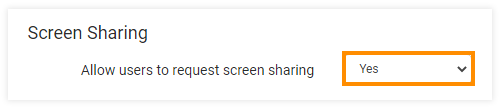
The next section is Screen sharing.
Using this option you can enable or disable the screen-sharing option for the participants.
Speaking/listening is the next section of the advanced settings.
This category allows you to select whether the user’s microphones and audio are on or off by default. The default for both is “Yes”.

Access to the Whiteboard is the next section on the list.
This category lets you select the permissions for participants’ interaction with the whiteboard. You can choose whether they can see the whiteboard, write on the whiteboard, edit objects on it or be presenters. All of them are set to “Yes” by default, except the presenter option, which is set to “No”.

Next up we have the Chat system.
This category allows you to set up chat permissions for participants. You can choose whether participants can see or write in it and use the personal chat option. The default setting for all of them is “Yes”. Additionally, the chat can be configured for the Waiting room (if the session is set to have a Waiting room).

Up next is Mosaic.
This category allows you to set up permissions for the video mosaic. Both seeing the video mosaic and being present in the video mosaic are set to “Yes” by default.

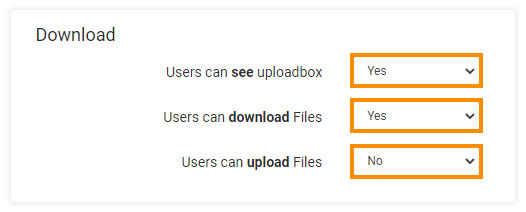
Finally, we have the Download category.
Here you can set up participants’ permissions for downloading and uploading files. It allows you to regulate whether participants can see the upload box and whether they can upload and download files. The default setting for accessing the upload box and downloading files is “Yes”, while for uploading files it is “No”
After adjusting your desired settings, you can click on the Start now button in order to begin the session.
As a tutor, you will be opening the virtual classroom through your own account. Your students, however, won’t need an account (unless the LMS is used) in order to enter the room and will simply need to put in a name when entering.
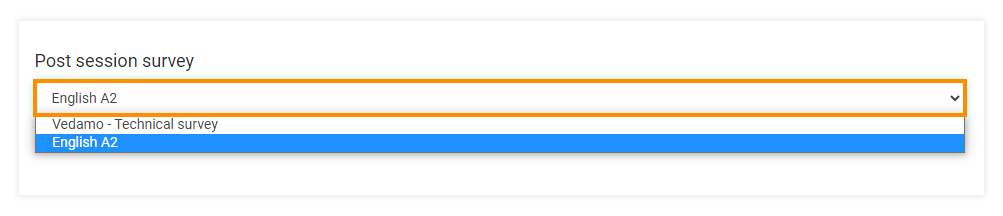
Last is the Post session survey section.
This section will allow hosts to select different surveys from a list (if permitted) based on the created surveys in the academy. All accounts will have the default survey: “Vedamo – Technical survey”, note that this survey can’t be deleted as this is a system survey.
Note: Hosts can manipulate this menu only if the account administrator has ticked “The host can overwrite the session survey when creating a room”.