Virtual Classroom File Library
The Virtual Classroom File Library allows you to upload files in order to use them in the virtual classroom during the lesson and prepare templates. You can also make uploaded files available for your students as lesson materials.
Functions
The File library menu allows you to create folders for better organization of your files or upload them to the main directory.
You can also select multiple files and drag and drop them in the window. Depending on the file size, the upload may take anywhere from a few seconds to a few minutes.

In the bottom right corner of your screen, you will see a bar. It shows you how much of your available space is currently in use.

Once you uploaded, you have the option to search, sort, move, or delete one, multiple, or all files.

You can download files previously uploaded. Furthermore, you can see the additional options DELETE and MOVE that are available only when you have selected one or more files.

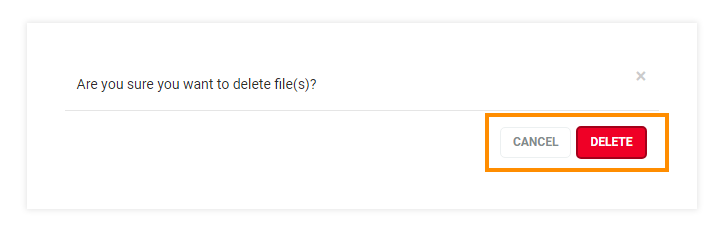
If you choose to delete files, a new window will prompt you to confirm the action. Deleted files cannot be retrieved from the library.
Settings also have a pop-up window, where you can see your permissions, as well as public ones. You can change public permissions and see what your permissions for the file are.

The upper drop-down menu will you to sort your own files (by default) and files that have been uploaded by all academy users – by clicking on the “Show the files of”. As an Administrator, you have the option of managing all files that have been uploaded.

The Sessions archives tab is where the recordings of the previous sessions are stored. You have the option of reviewing the archives of sessions that you have created or all sessions if you hold the Admin role.

Below the File Library is the Session templates section, where all of the created templates in the academy can be found.
Bear in mind that editing a template will create a new session, specifically for that purpose, since any additional materials need to be uploaded via the virtual classroom and then saved as a template.

Upload box
The Creator of the room can upload all or some of the files and materials you need at any time so: Participants can upload and download the uploaded files only if they have the corresponding permissions.
- Tutors can upload them to the Whiteboard;
- Other participants can download them;
- Tutors can play them through the media player (media files only).
A short video on how to upload files in the virtual classroom:
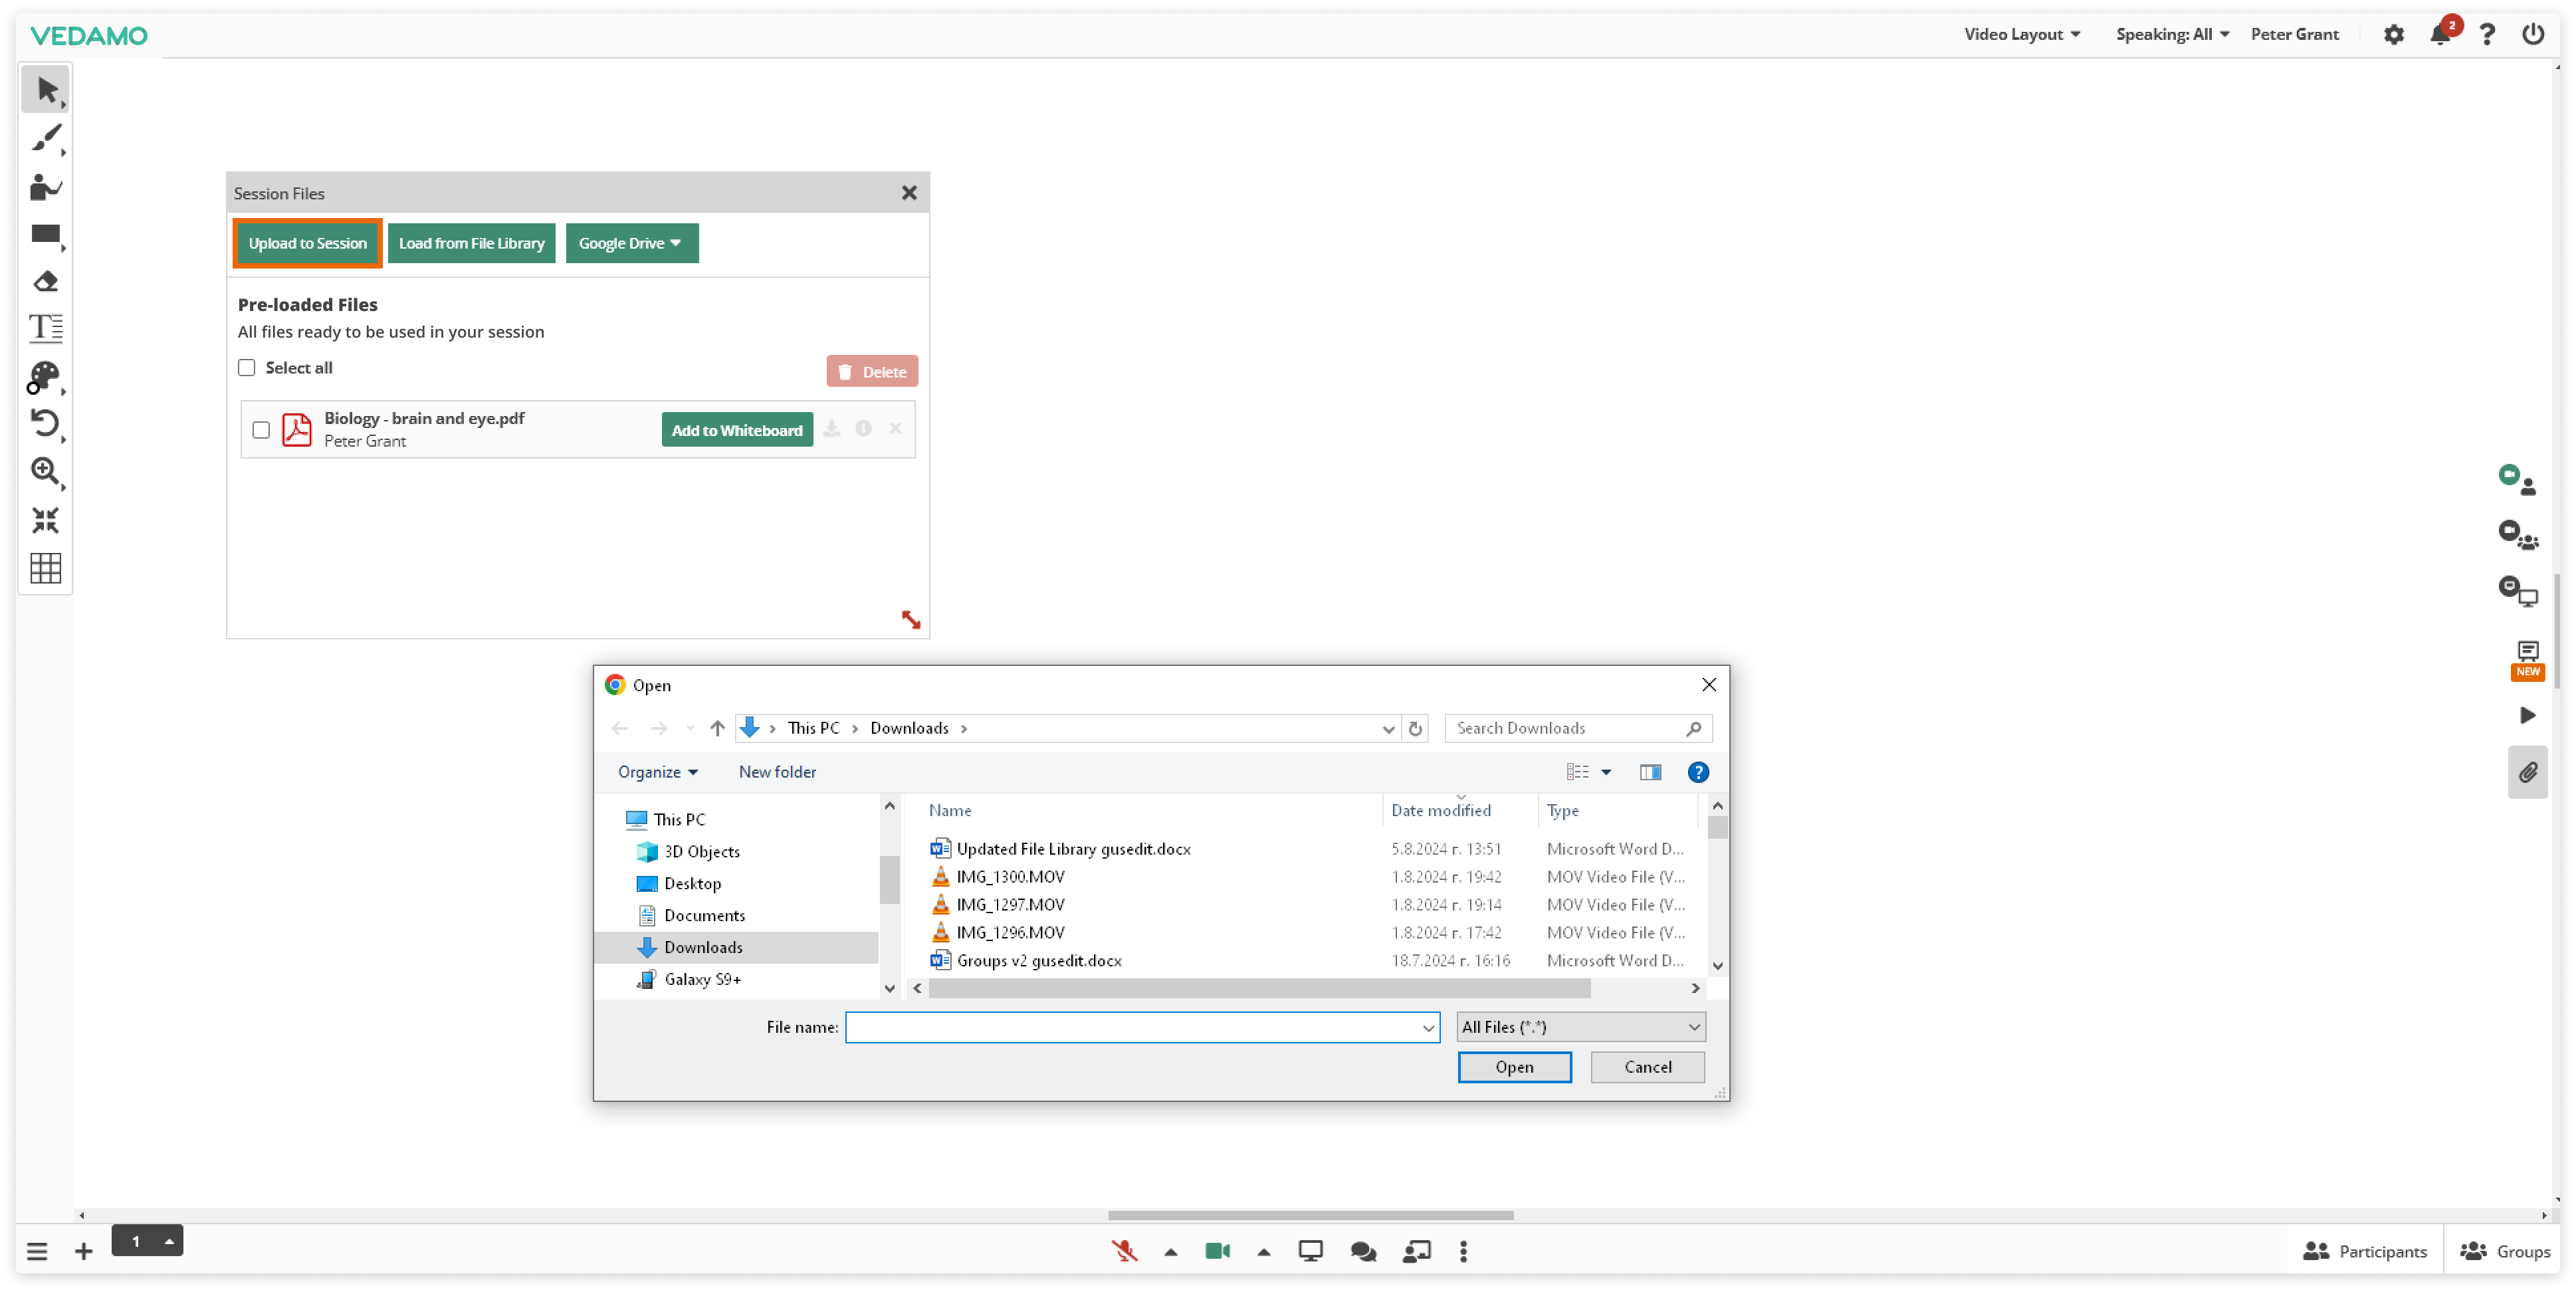
Upload files from your computer
To upload your files either click on the (Select files) button or select the files from your computer and drag them into the Upload box.
You can upload all popular file formats and sizes. The larger the file the longer it will take to upload. The time needed to convert and upload your desired file depends on its size and type.
Upload files from the file library
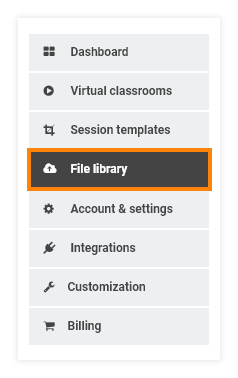
When subscribed to the Premium Virtual plans you can upload files in advance to use them as a resource when you open a new Virtual Classroom. In order to upload and have files ready to use as pre-made materials, go to ‘File Library’ after you log into your account.
You will see this menu:
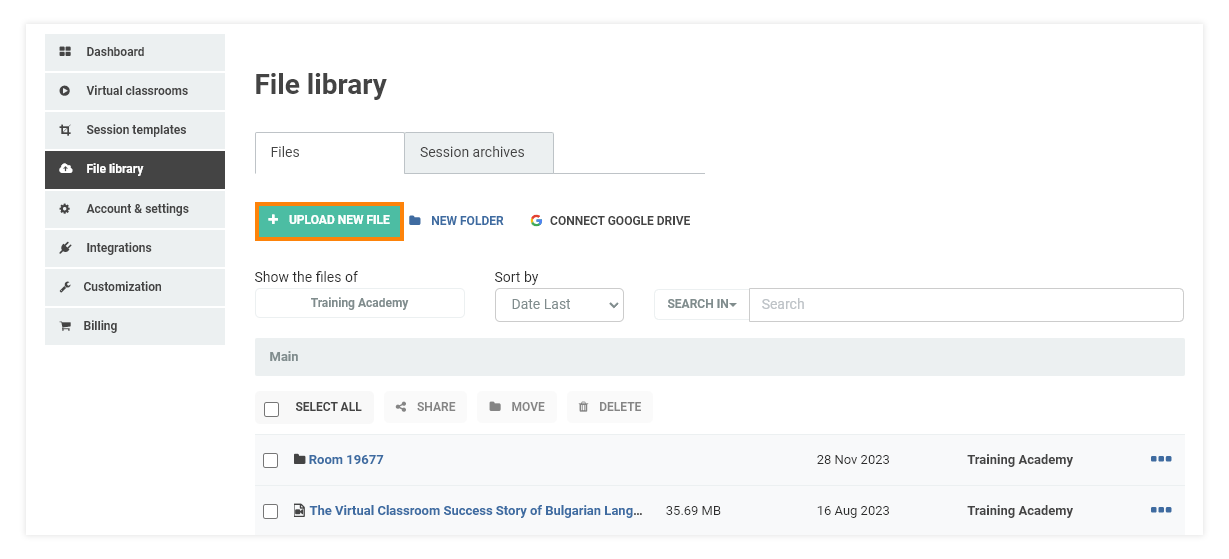
Select ‘’Upload new file” and upload the file you wish to use. A new window will open.
Upload New File
You will see the newly uploaded file on the list and it will take a short period of time for it to be converted and ready for use in the Virtual Classroom.

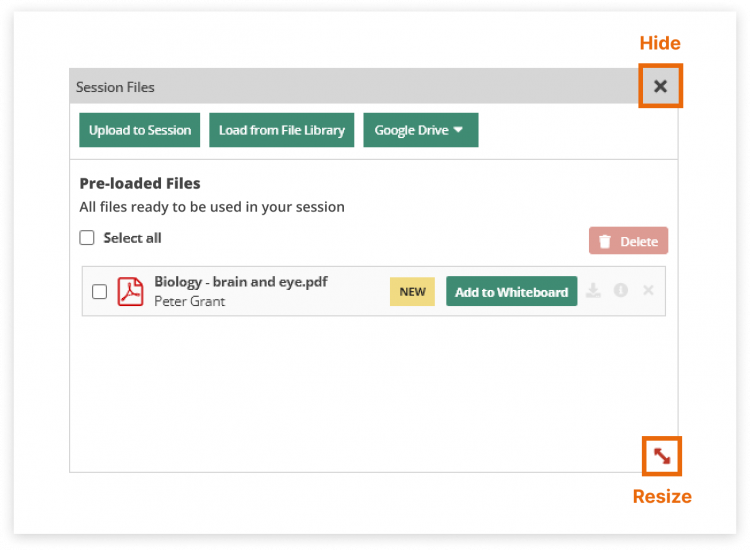
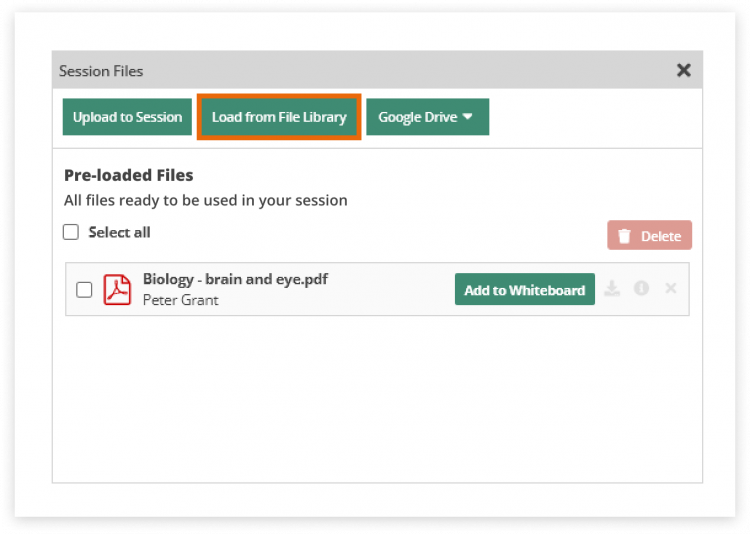
While in the Virtual Classroom, select the “File Library” button.
A new window will open with the possibility to upload your desired file from the file library.
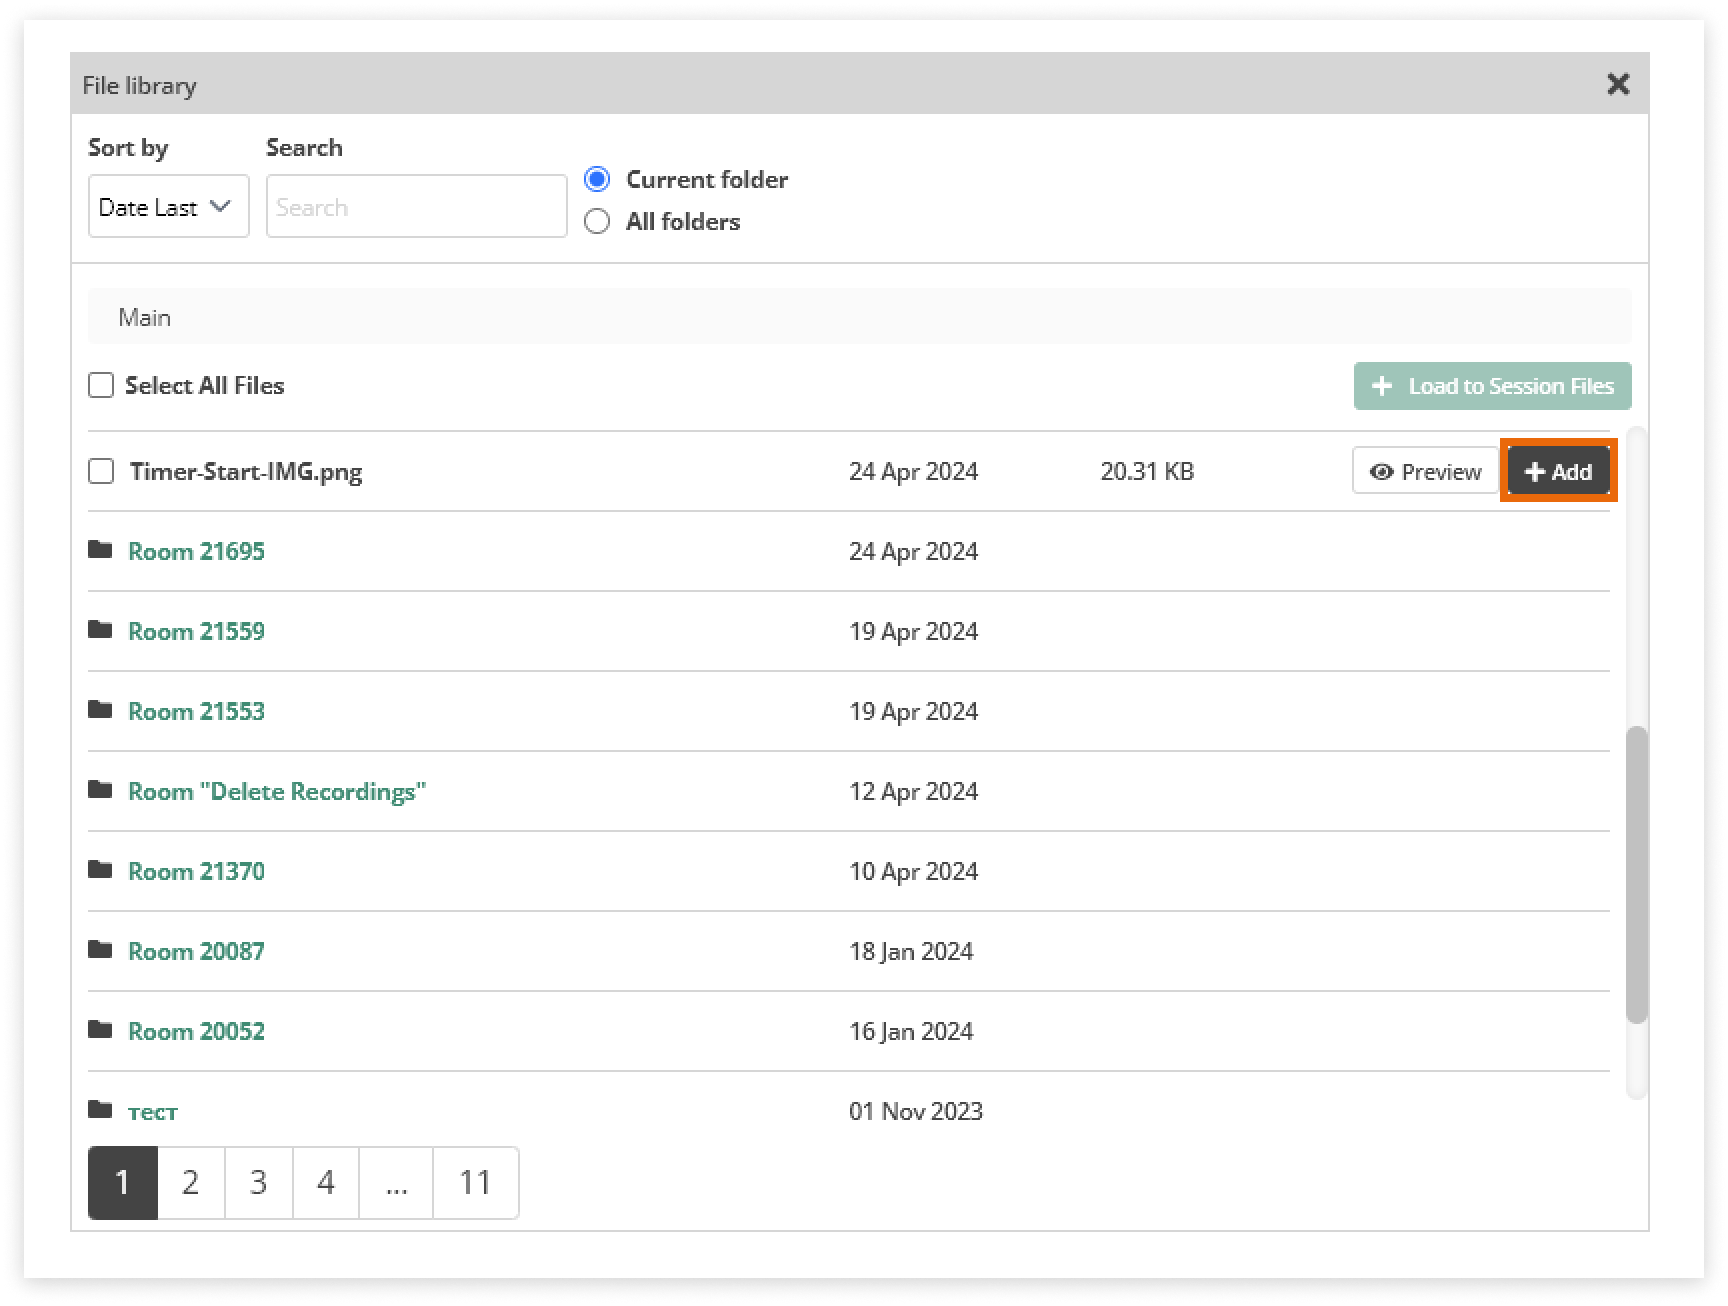
Then you can choose your desired file from the list:

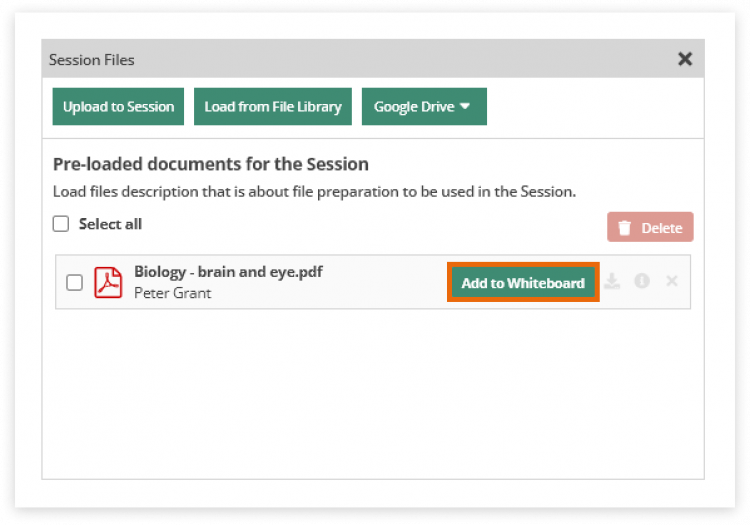
When you click the “Load to Session Files” the files are uploaded to the file library where you can choose what to do with them.
You can also preview the files from the “Preview” button:
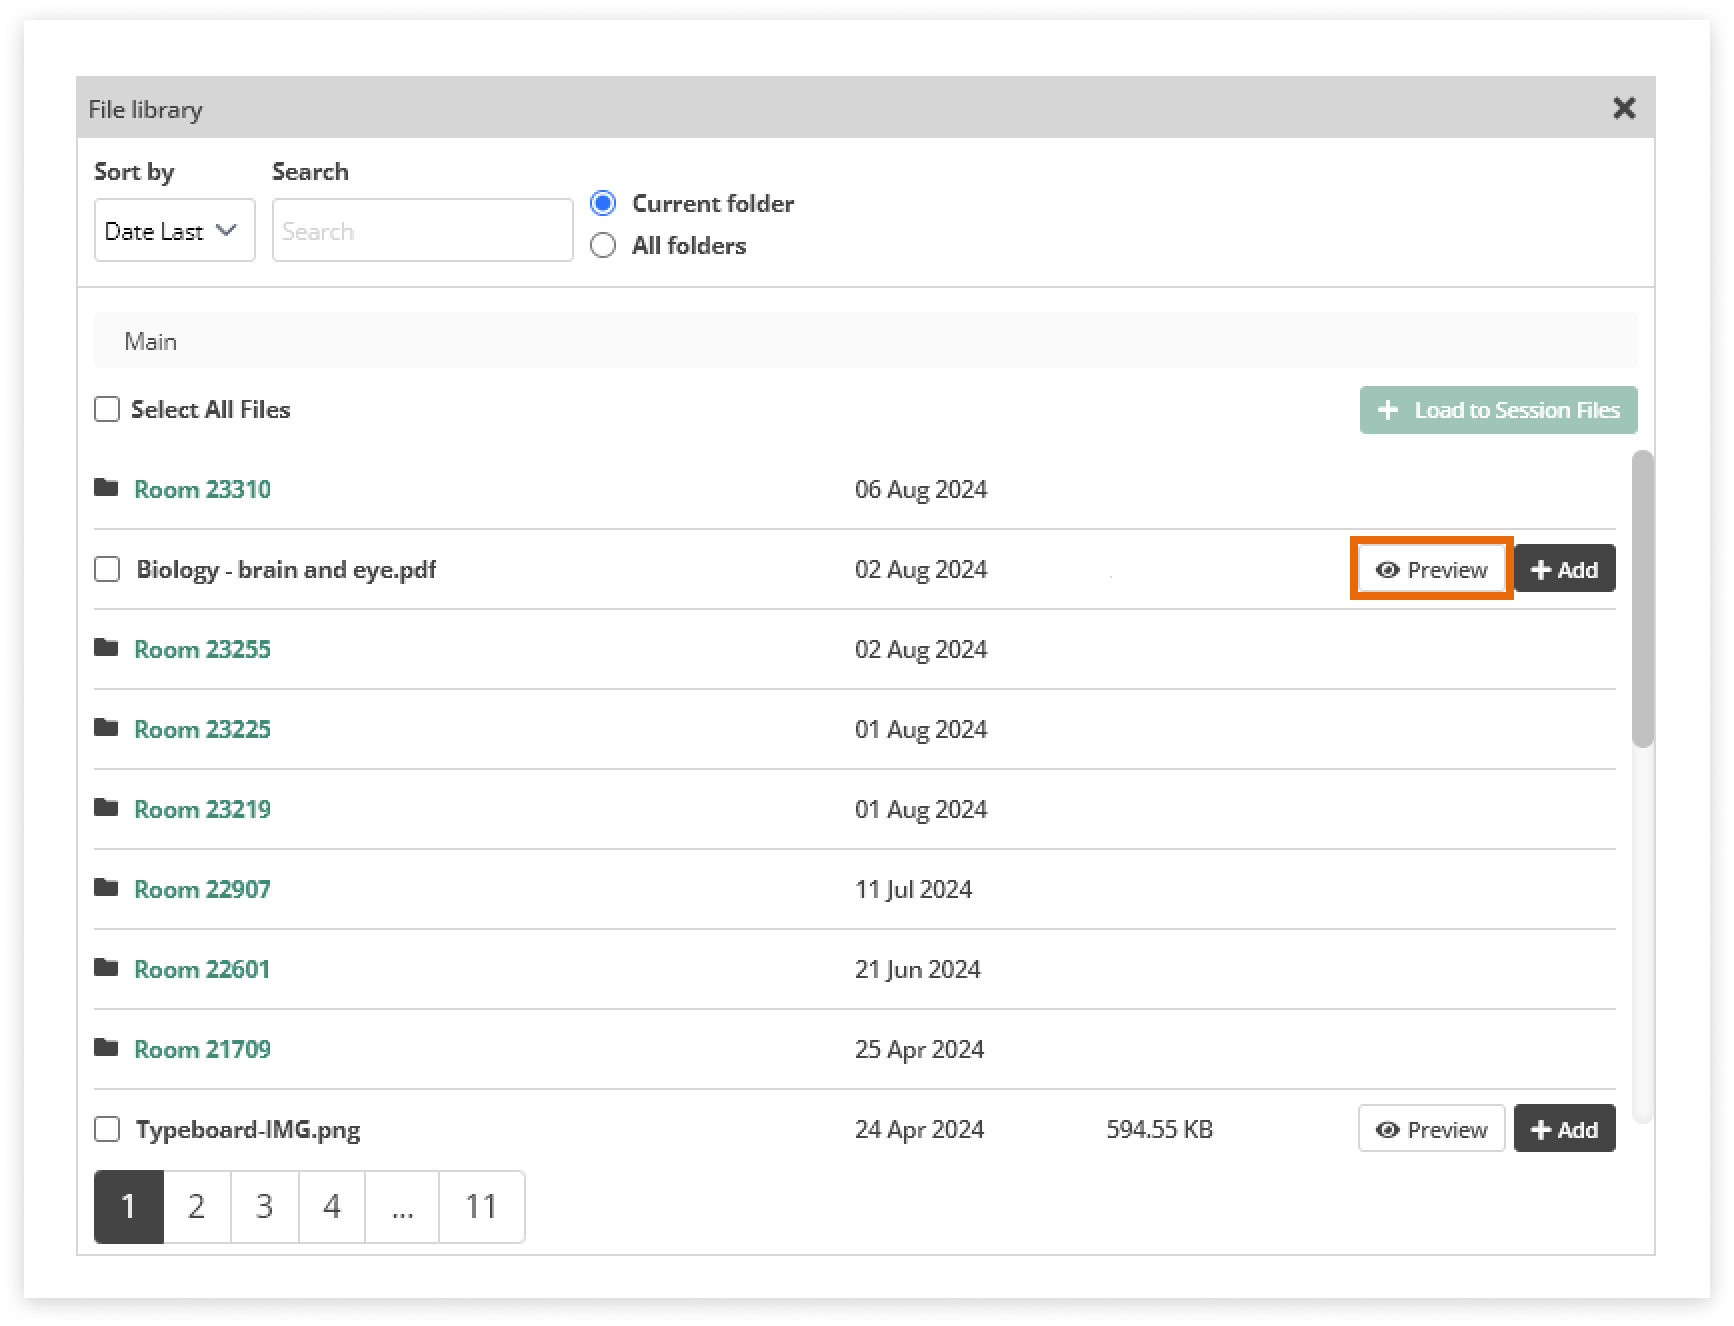
By clicking the “Add” option the item will be automatically imported onto the whiteboard or in the media player depending on the type of the file.
Import files
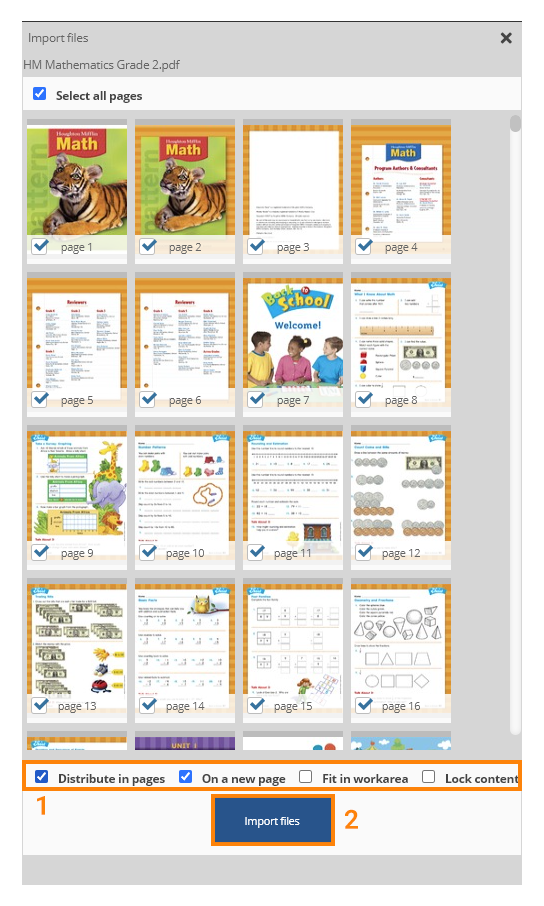
This opens a new dialog window where you can choose what pages to import and how. In order to import your files on the whiteboard press the ‘Add to Whiteboard’ button in the Session files window.
This opens a new dialog window where you can choose what pages to import and how. In order to import your files on the whiteboard press the ‘Add to Whiteboard’ button in the Uploaded files window.
Distribute in pages – This will place the selected pages from your document in separate pages on the whiteboard. Otherwise, this will put all the selected pages on the first whiteboard page.
On a new page – This will import the new pages at the end, creating new pages after the last.
Fit to work area – Tries to fit the content as best as possible based on the device used.
Only supported files can be imported.
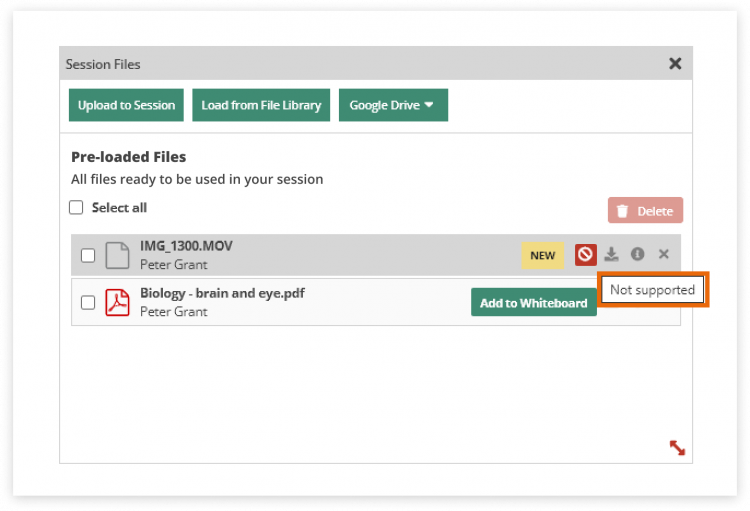
(Deny) This icon shows that either the file type is not supported or you do not have permission to import it.
NOTE: Only session creators, Administrators, and Presenters can import files (if they have permission to Write on the whiteboard)
List of supported file formats:
‘bmp’, ‘gif’, ‘jpg’, ‘jpeg’, ‘png’, ‘webp’, ‘csv’, ‘doc’, ‘docx’, ‘odg’, ‘odp’, ‘ods’, ‘odt’, ‘pot’, ‘ppm’, ‘pps’, ‘ppt’, ‘pptx’, ‘rtf’,
‘svg’, ‘txt’, ‘wmf’, ‘xls’, ‘xlsx’, ‘pdf’, ‘mp3’, ‘ogg’, ‘m4a’, ‘flac’, ‘wav’, ‘mp4’, ‘avi’, ‘vob’, ‘mkv’, ‘webm’, ‘ogv’, ‘flv’, ‘wmv’
Note: On Mac/iOS devices some BMP files might mot be fully functional due to software limitations.
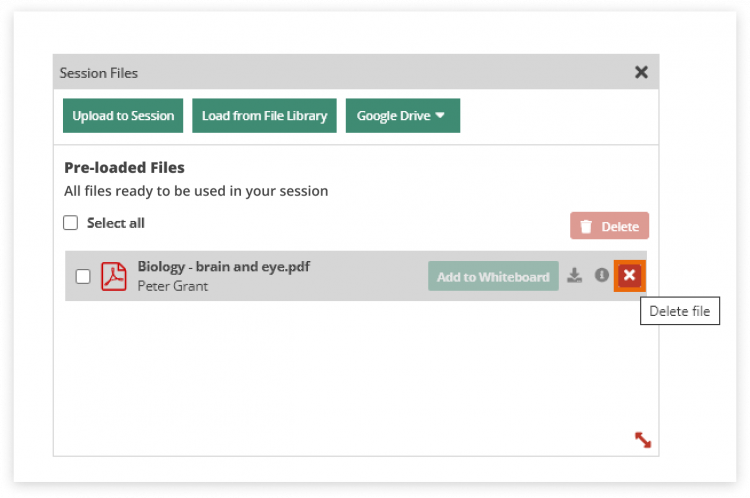
Note: Bear in mind that if you delete a file, which is part of a Template, the file will be deleted in the Template as well.
A confirmation message appears:
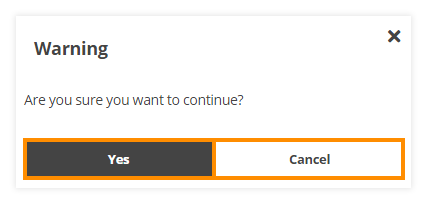
Virtual Classroom File Library: Click Yes to delete the file or No to keep it
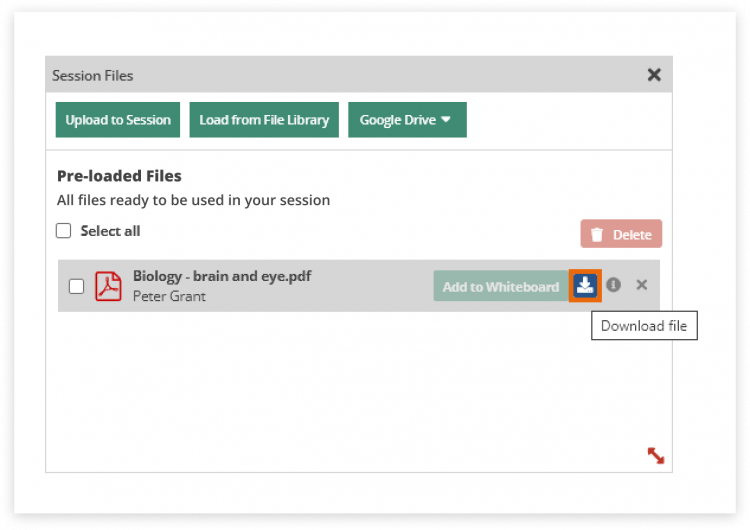
Download Files
All participants can download the files if they have permission to Download files. Find the file you need and click on the download button.
NOTE: If you do not see this button you actually do not have permission to download the file.
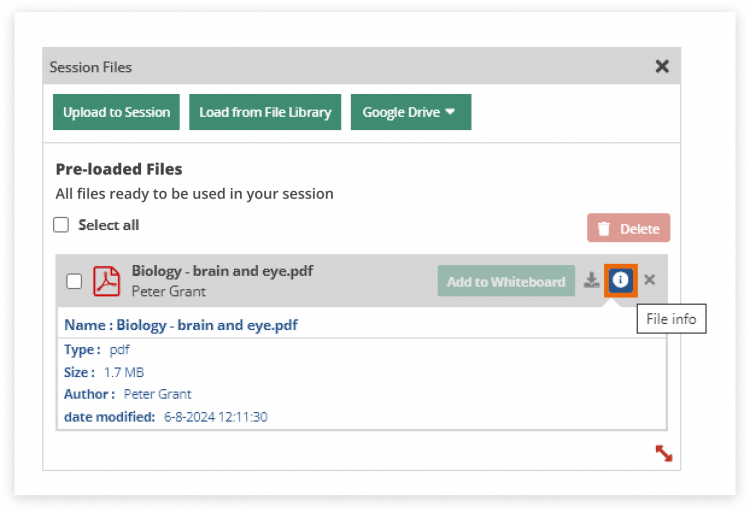
If you want to see the File Information press the “File info” button.
You can also upload files directly from Google Drive:
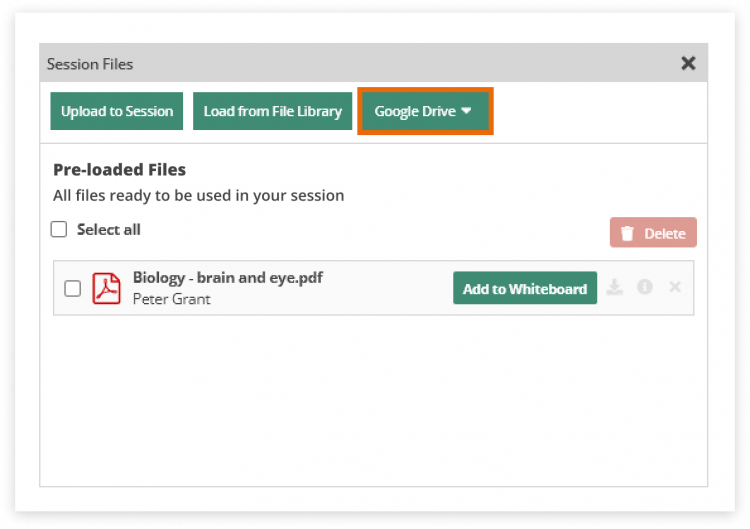
Note: You need to connect to Google Drive