Introduction
LMS Upgrade to Premium subscription plan is done via the Upgrade option on your Dashboard. The upgrade (to the basic Premium LMS plan) allows you to create up to 25 user accounts, create an unlimited number of courses and lessons and custom brand your academy.
LMS Upgrade to Premium
In order to upgrade your Free Learning Management System to Premium, log in to your account and click on the Upgrade to a Paid plan – LMS button on your account’s Dashboard.
The second option to upgrade your trial LMS account is located in the Billing section > press the Upgrade to Premium LMS button.

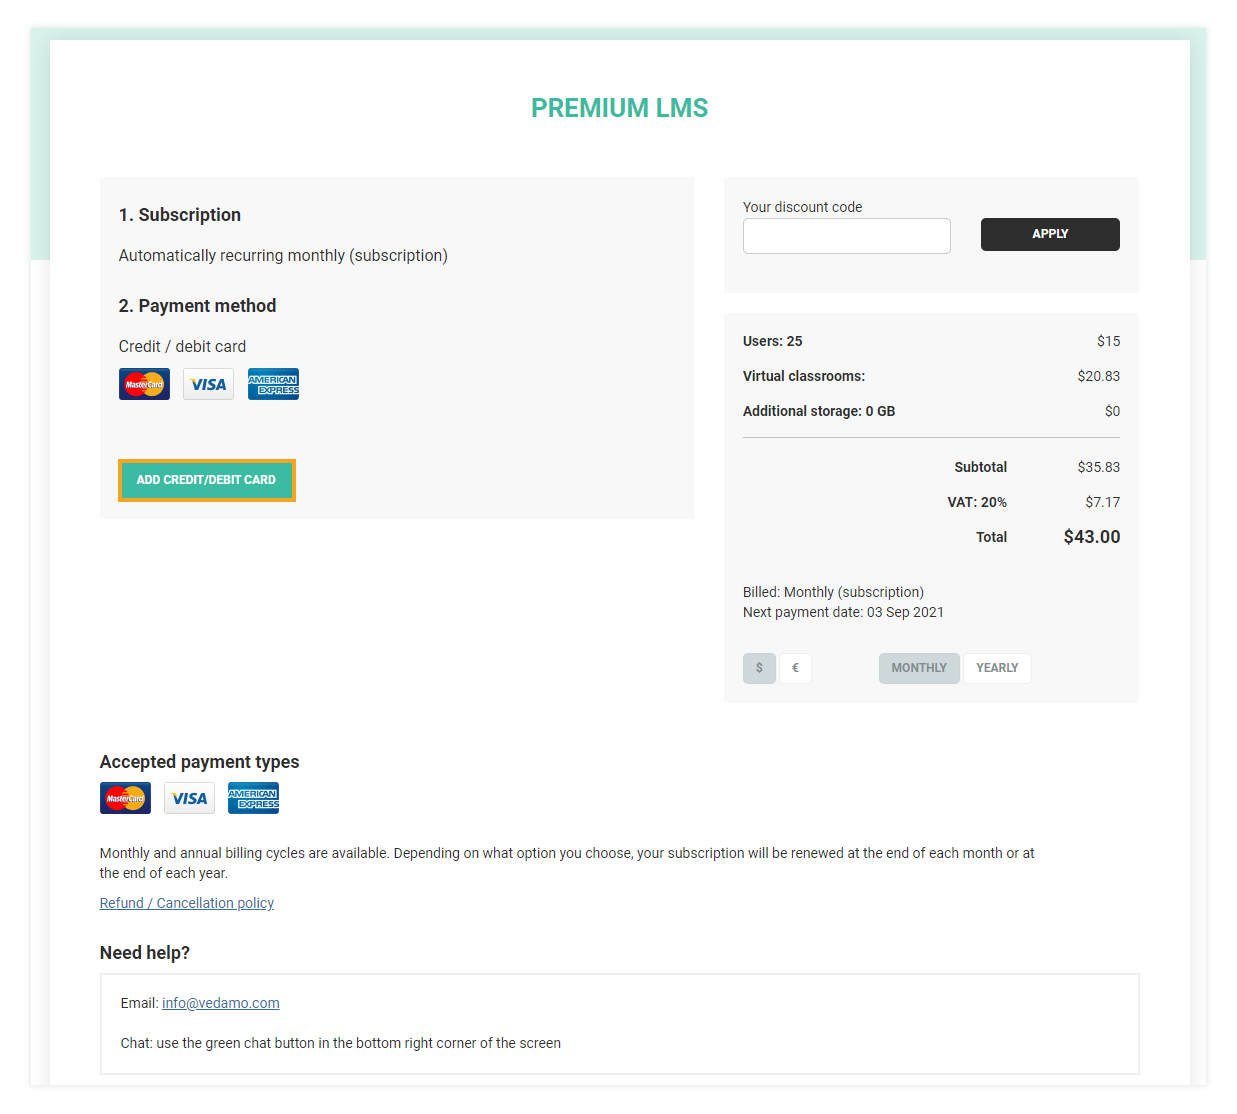
Once you click on Upgrade you will be redirected to the following page, where you will be prompted to enter your plan details:

The next step is the Add Credit/Debit card page, where you can see the summary of your purchase as well.
After you have clicked on Add Credit/Debit card button you will be redirected to the following page, where you will be prompted to enter your bank card information.
You will have to fill in the following information:
- Month and Year of expiry
- CVC code
- Name on card
- Card number
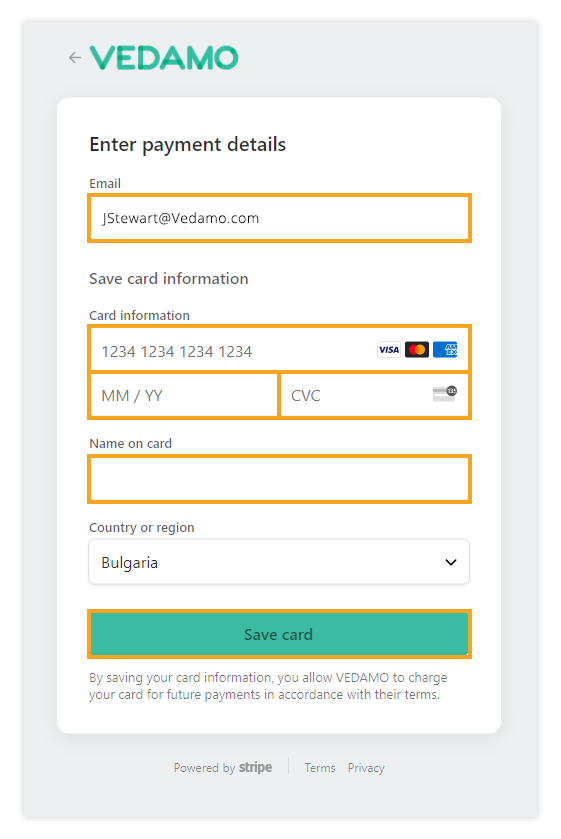
When you have entered your credit/debit card information, press the Save card button in order to proceed to the next step.
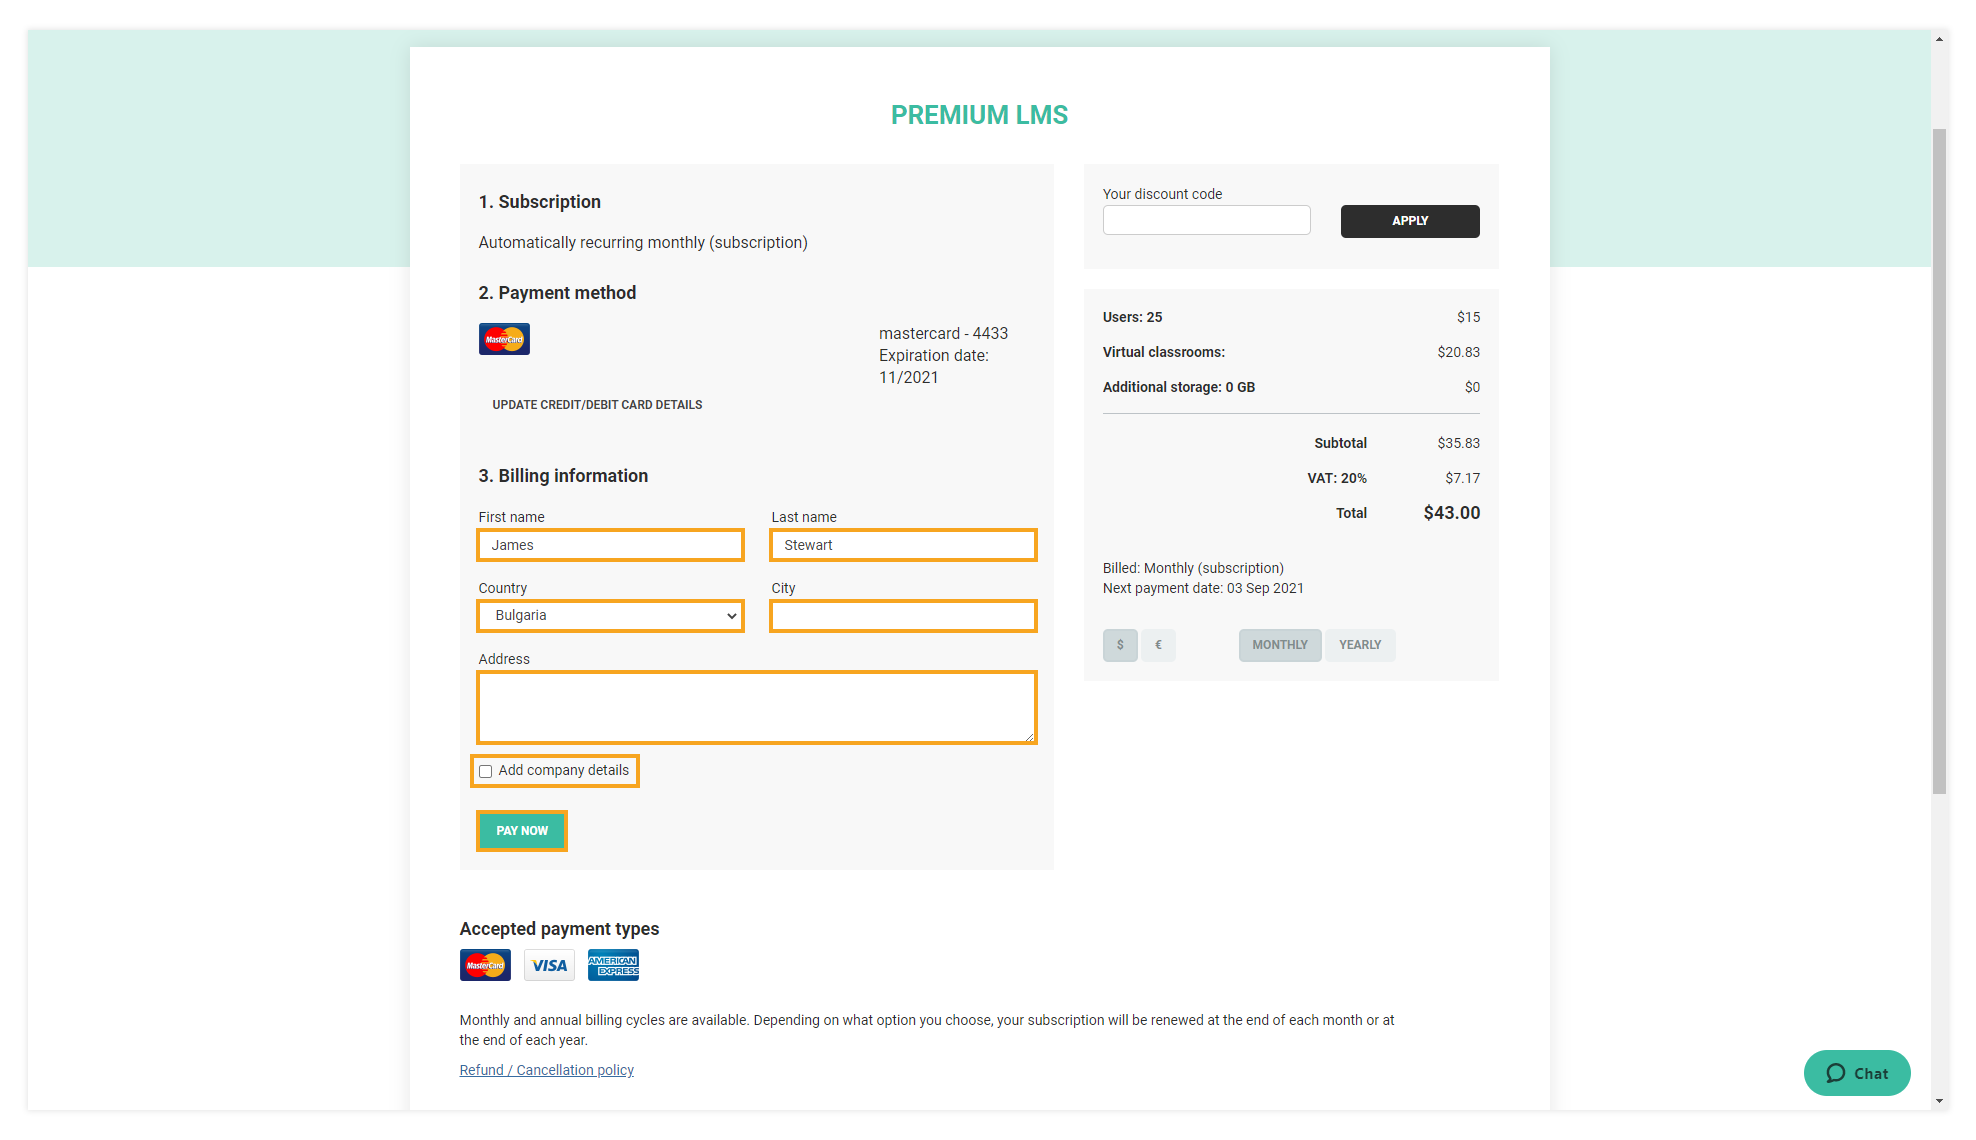
Once clicked, a new window will open. You have to enter your billing information there. Enter the following required details:
- First/Last name
- Country
- City
- Address
Note: If you want to add your company details you can tick the “Add company details” button, the information you entered there will be added in the invoice information. Any changes in your company details from your account will be applied to your future invoices.
The last step is to press the “Pay Now” button in order to finalize your purchase.
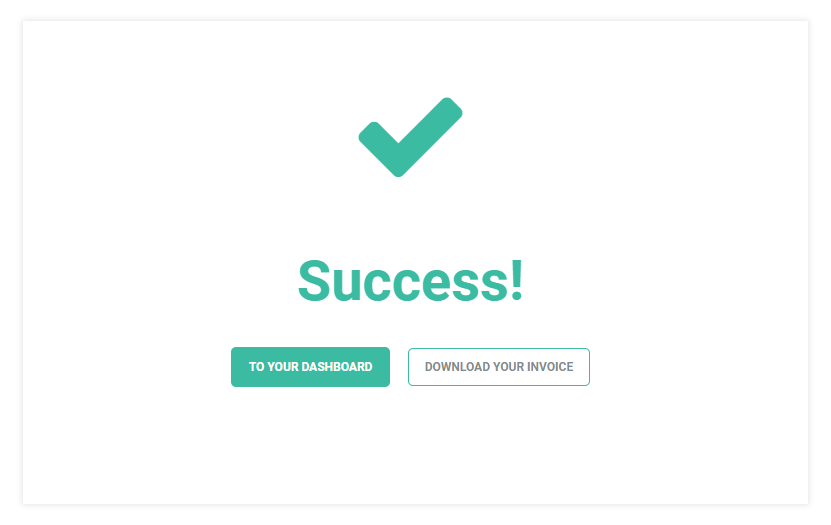
Finally, you will get to the success page. You have the option of downloading your invoice directly.
Alternatively, you can go back to your Dashboard.
You can access it at any point by going to the Billing & Upgrade menu and choosing the Orders tab.