Virtual Classroom Breakout Rooms
Virtual Classroom Breakout rooms allow you to divide any number of participants in your session into smaller groups. Whether you need to give your students an individual exam or have them work on a group assignment, this functionality gives you the possibility to create and customize a separate space for that purpose.
Manage Groups
Groups (also known as breakout rooms) are separate workspaces in the room. Each one has its own separate room elements: video conference connection, online whiteboard, chat, media player, and participant controls – available only for the participants added to the group.
The default group in the Virtual classroom is the Main Group – all participants are automatically added to it.
Only tutors can create new groups and manage the participants in them.
Create a group
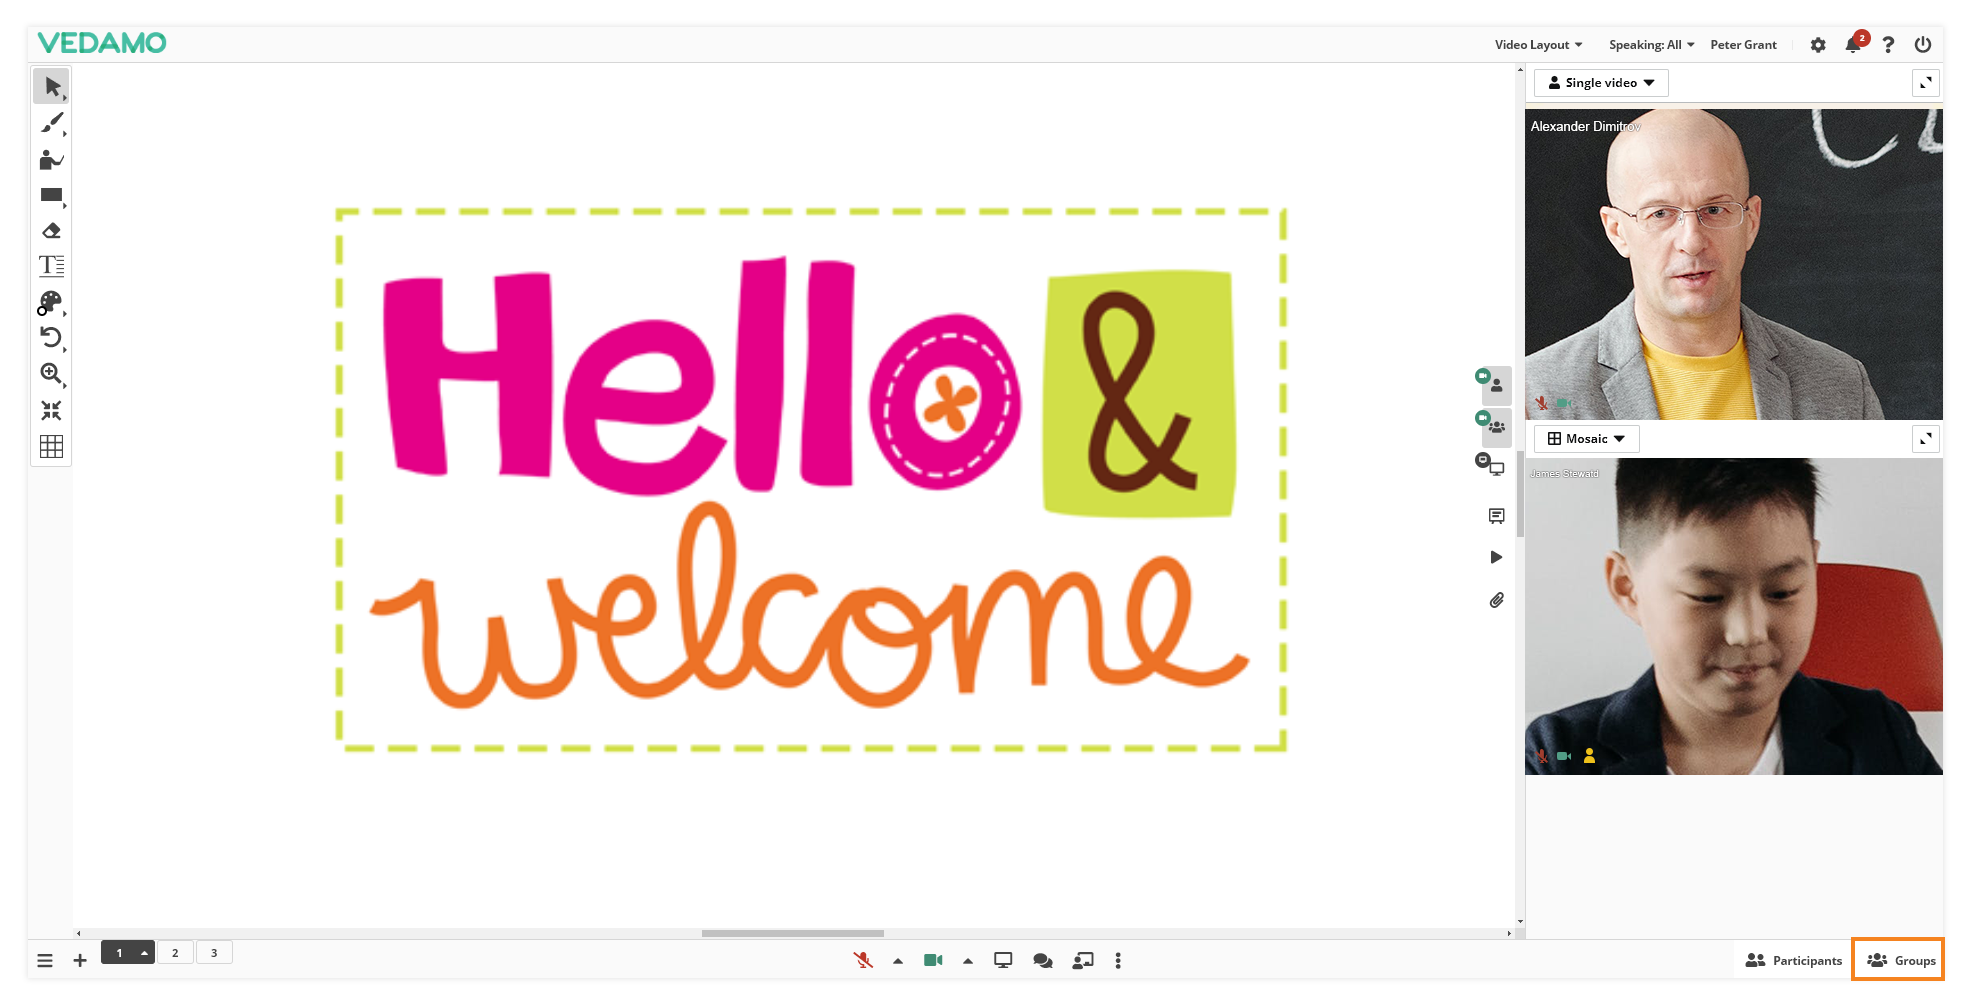
In order to create a group, click the “Groups” button on the bottom right side of the screen.
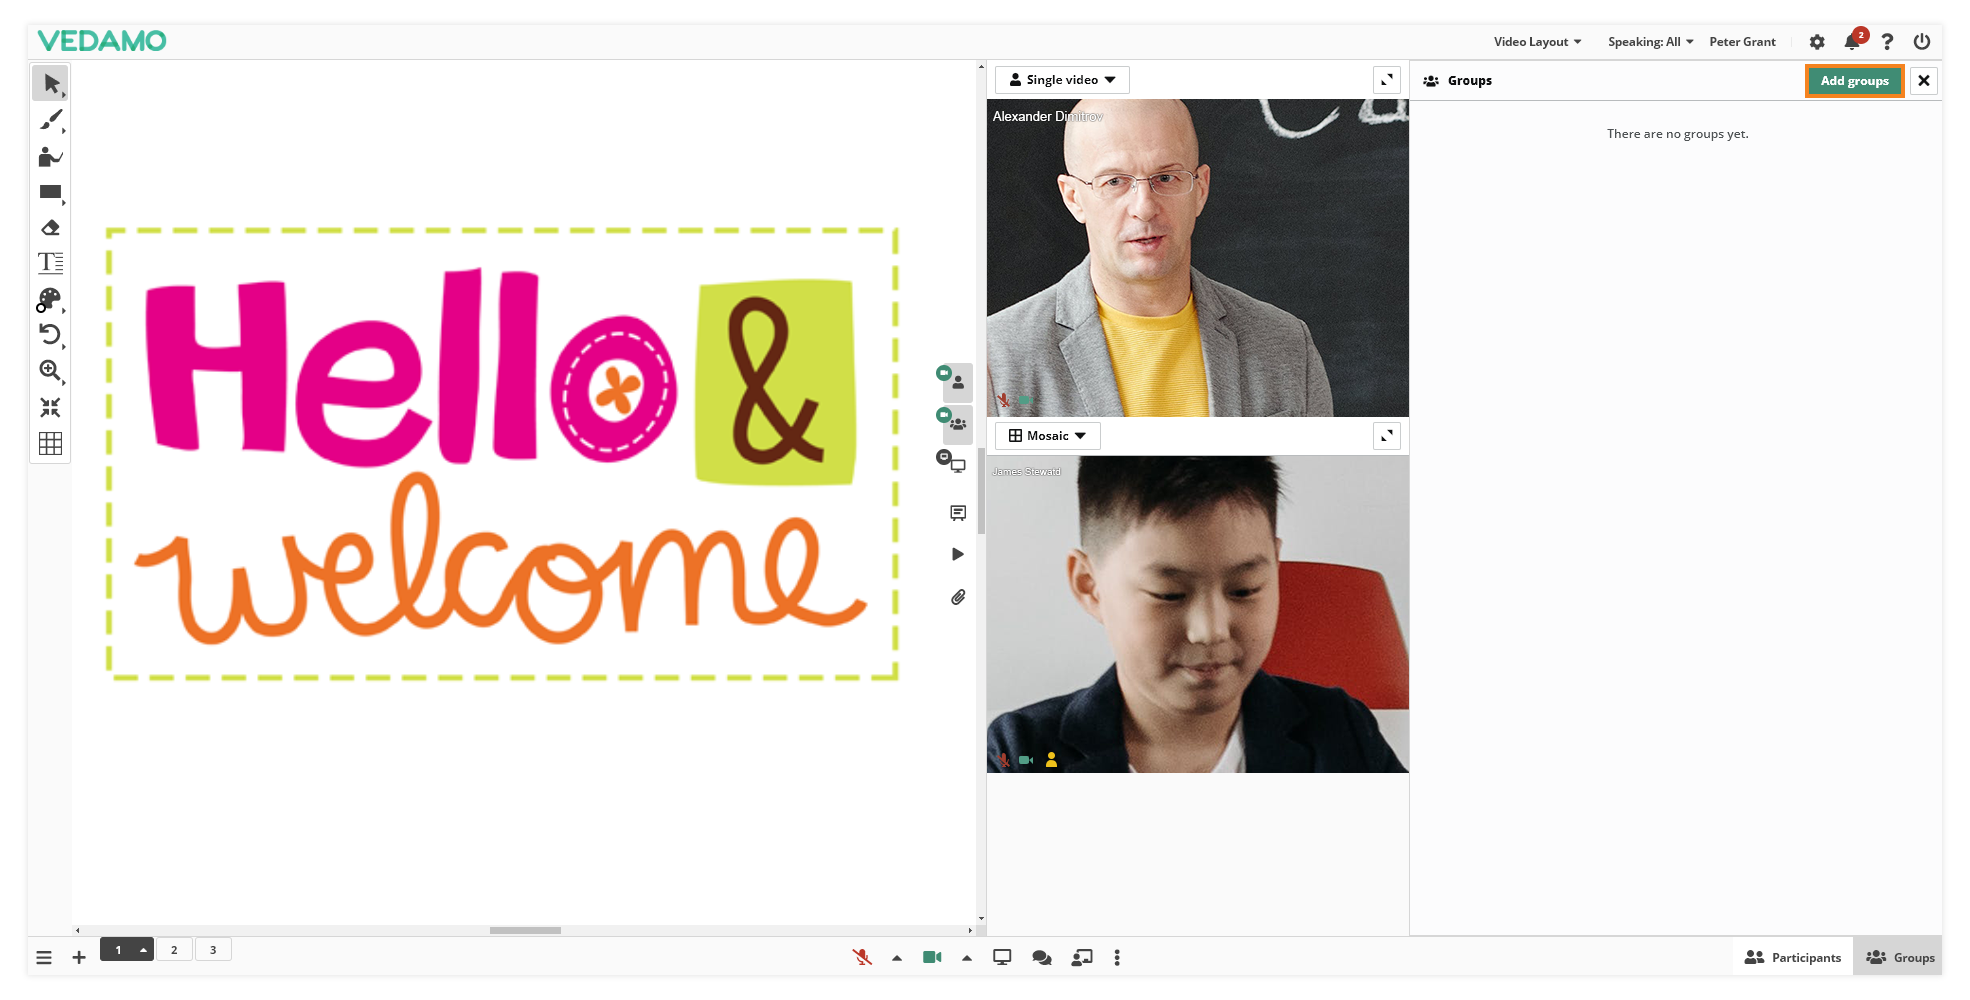
After that a new window will appear and you will be able to add a new group.
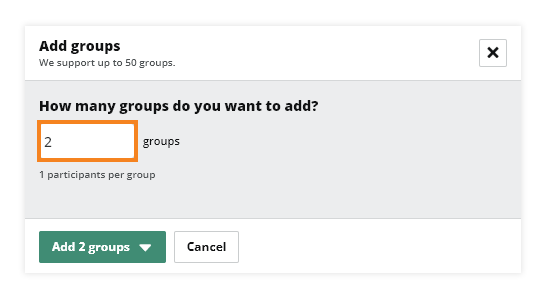
Note: Up to 50 groups can be created.
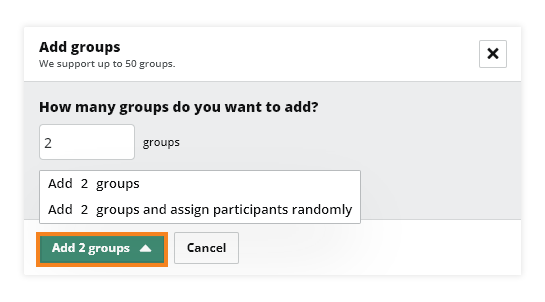
A new window will appear in which you can select how many groups you want to be created:
You have the option to only create the groups or randomly assign the participants in it:
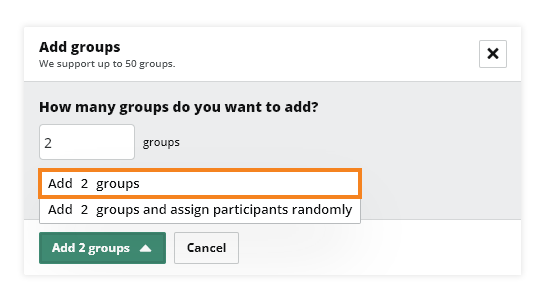
After you have selected the number of groups you will have to press the green button.
The newly created groups will be displayed here:

The host can join the groups from the Join button:
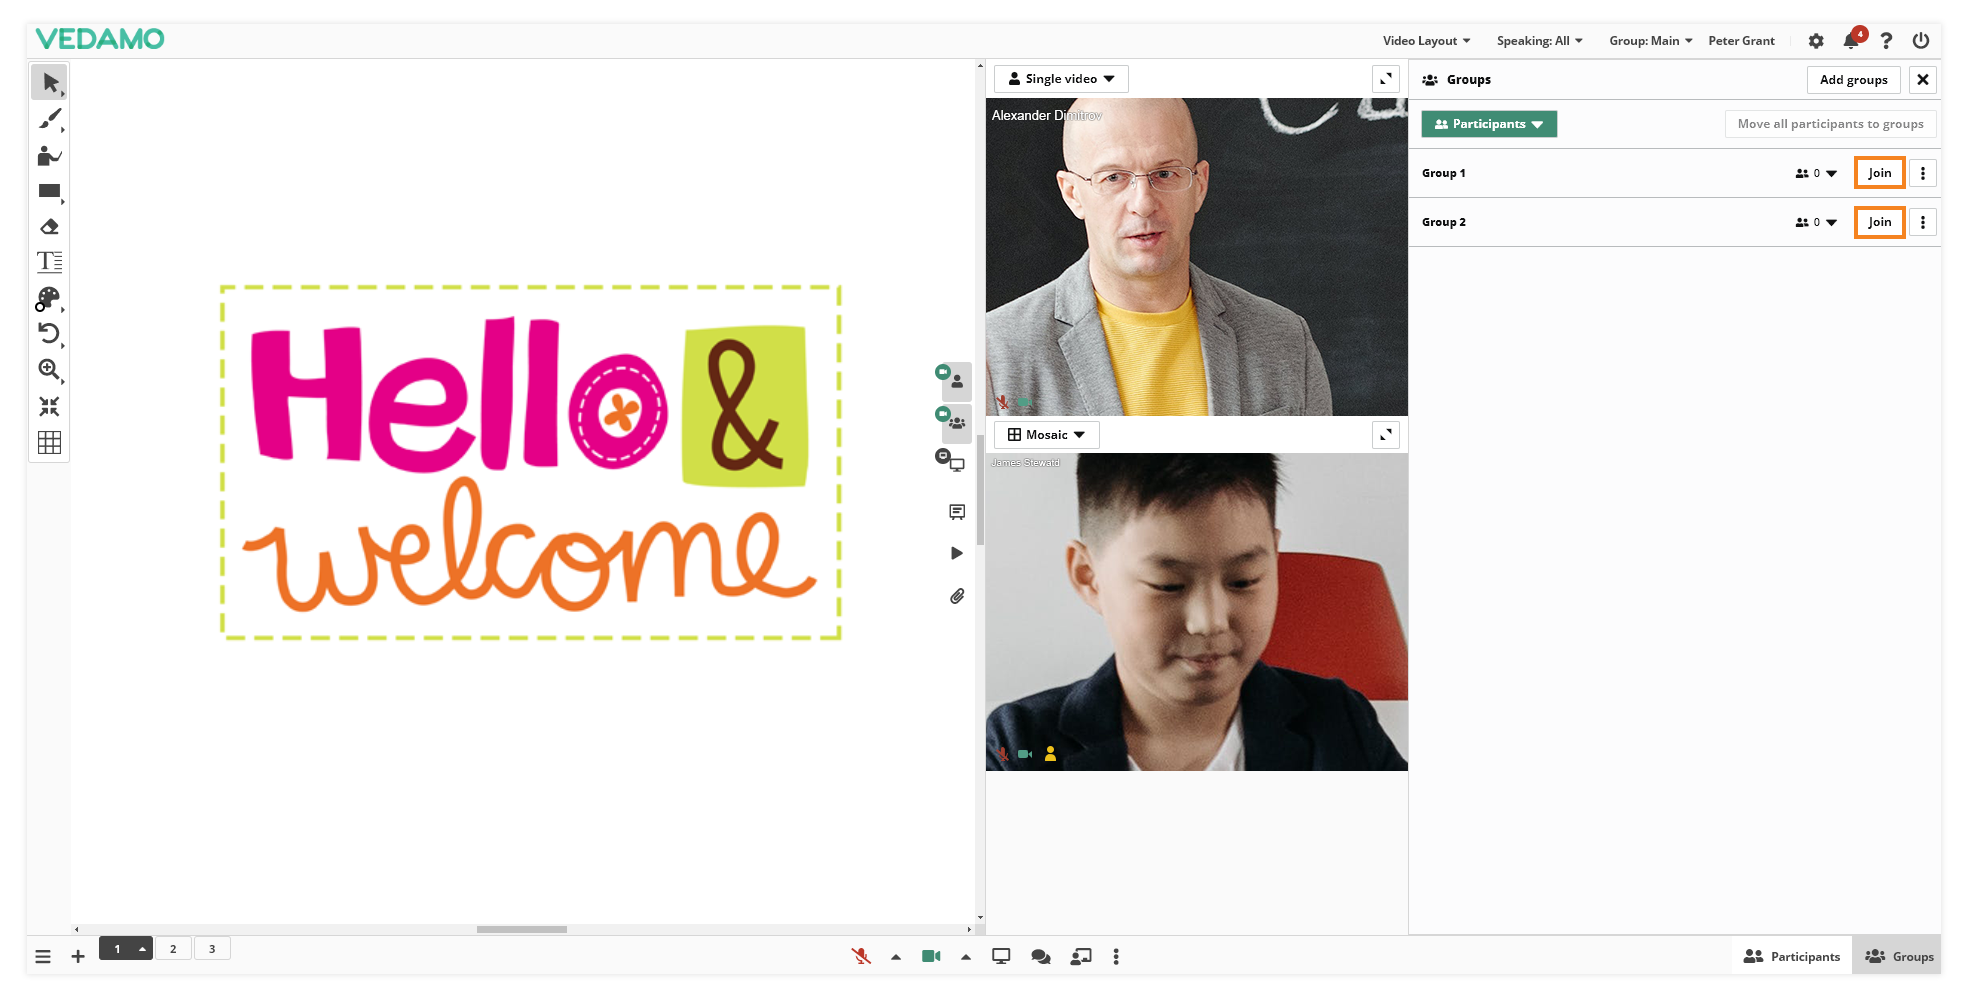
The participants in the session can be assigned from here:
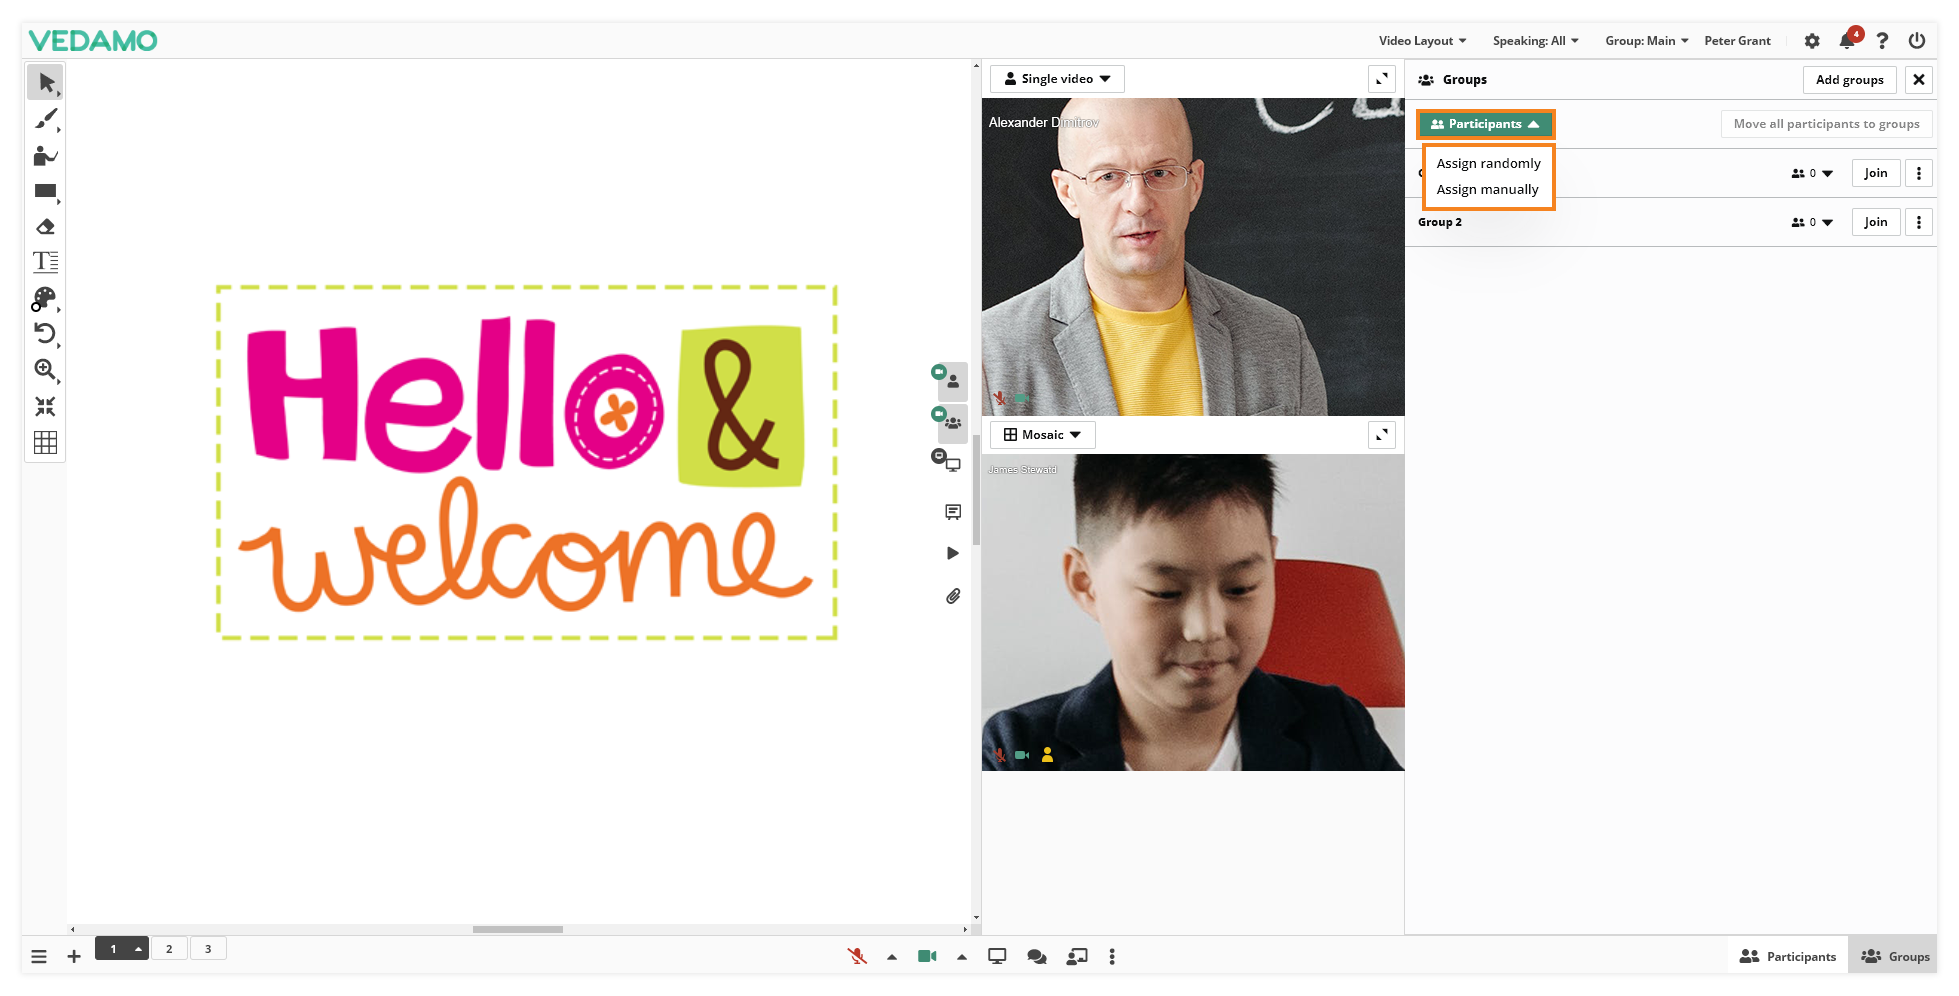
Note: You can use the assign participants randomly option only if the participants are not allocated to any groups prior, or all the groups have been deleted. This option will separate the participants (randomly) based on the number of groups that you have selected.
After the participants are enrolled in their groups you can shuffle them randomly again from the same option:
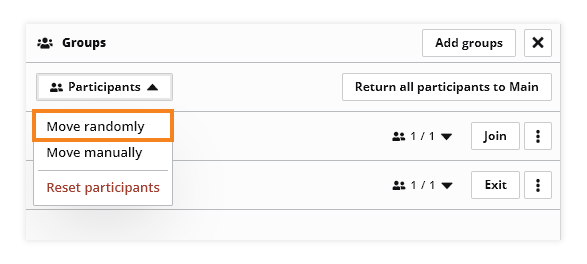
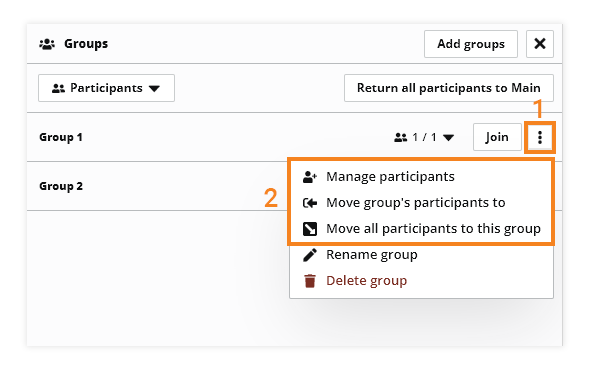
Alternatively you can manage the participants from the drop-down menu from the three dots here:
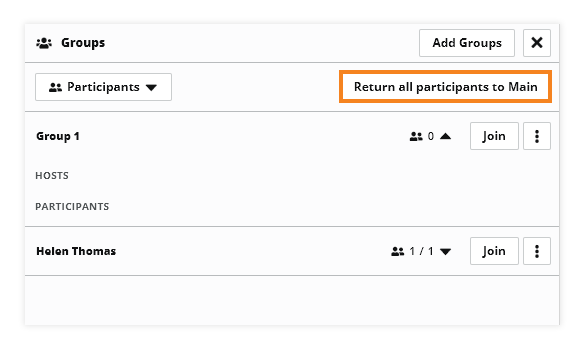
If the participants are assigned to the groups and you want them to go back to the Main group you can again do it from the Manage participants section or alternatively from the “Participants” section where a new button “Reset participants” will appear or from the “Return all participants to Main”:

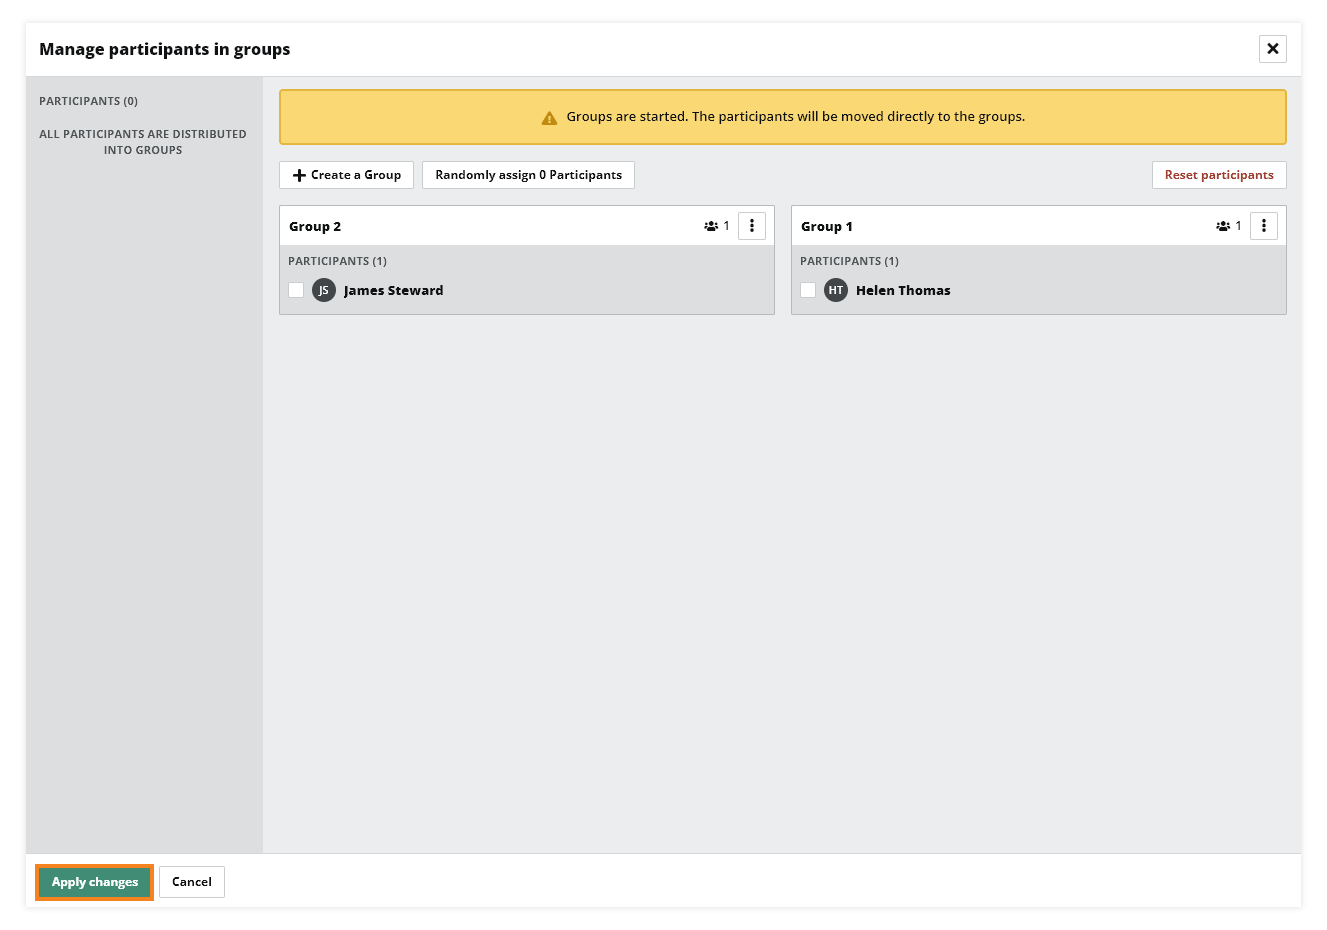
If you choose to assign the participants manually from here,
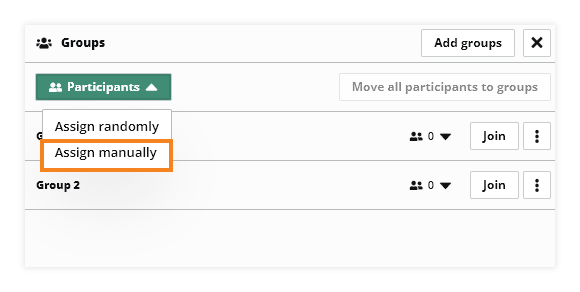
a new window will appear that will allow you to assign/move participants between groups.
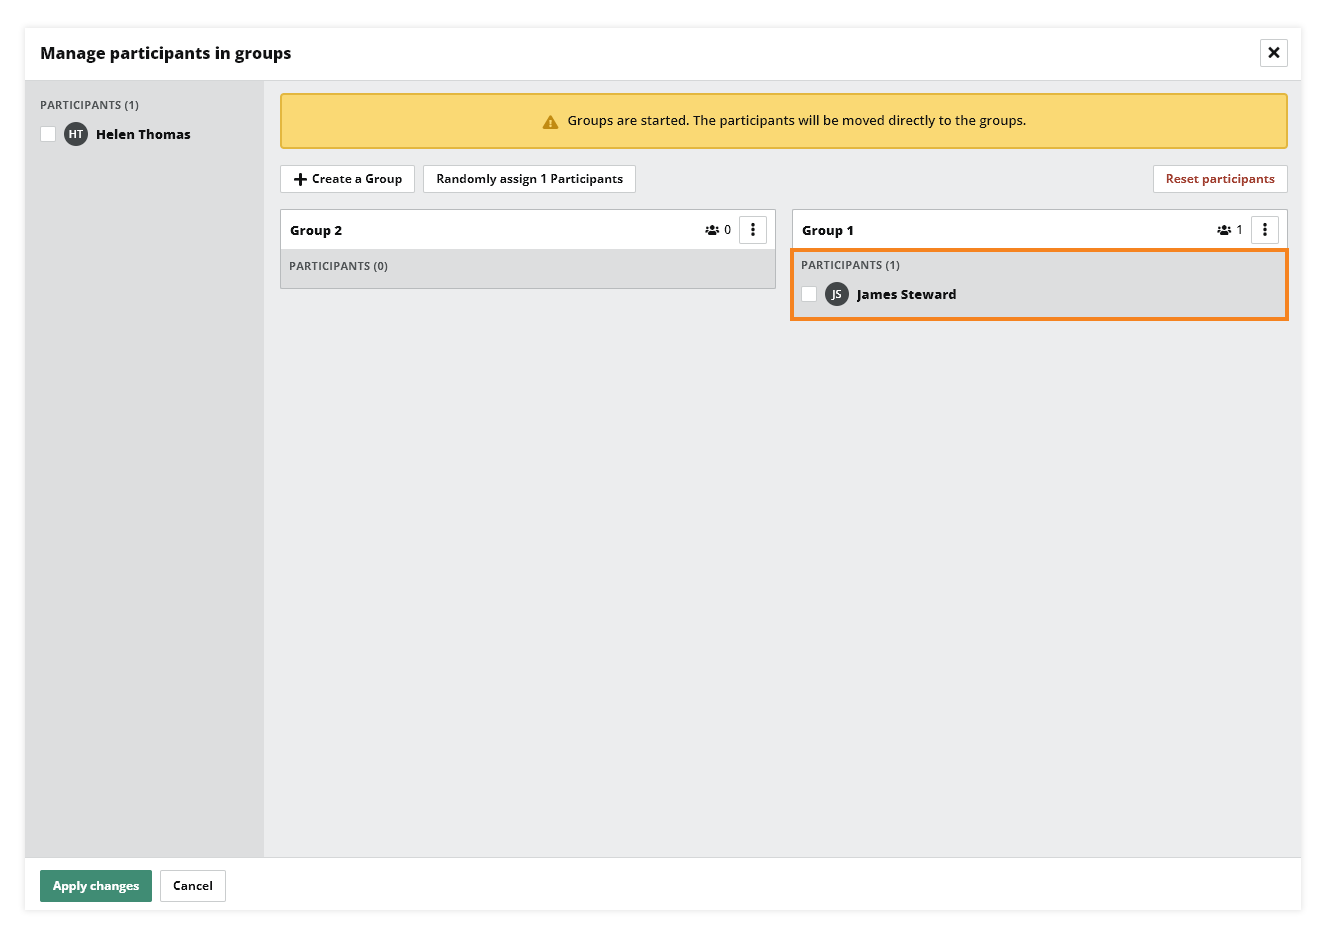
All of the unassigned participants will be visible on the left side of the menu:

Note: Participants who are already assigned to groups won’t be visible in the participants list. They will be visible in the list of the group that they are already assigned to:
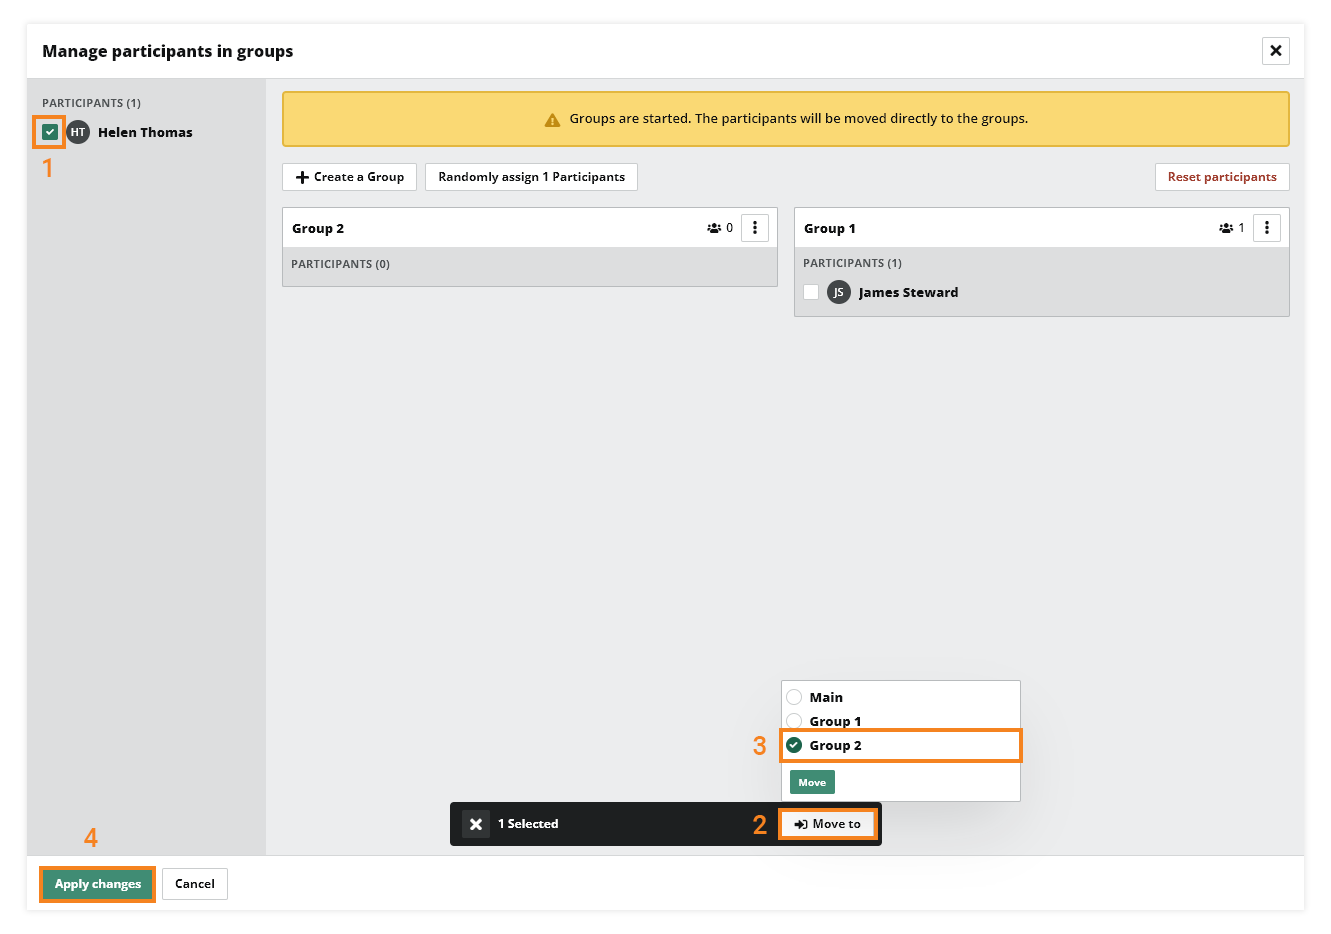
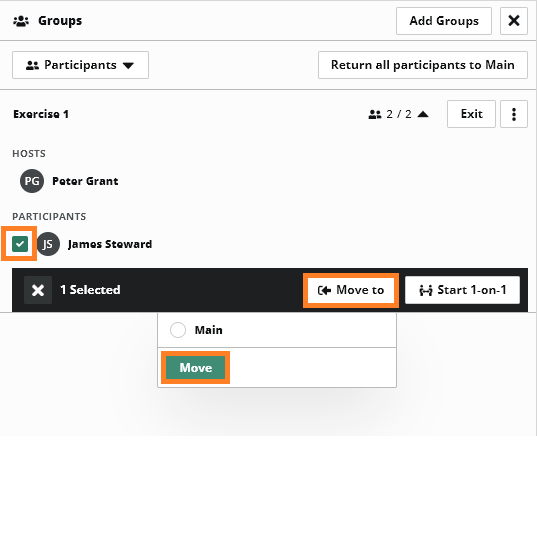
In order to move the participants who are already in the group you can select them and there will be an option to move them from the additional pop-up menu:
Additional settings to create groups, randomly assign, reset, rename, and delete will be available from here:

After all the changes have been made click on the “Apply changes” button to save them:
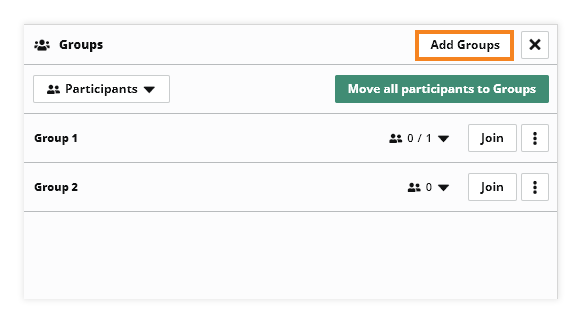
To add new groups click on the “Add Groups” button on the top right side:
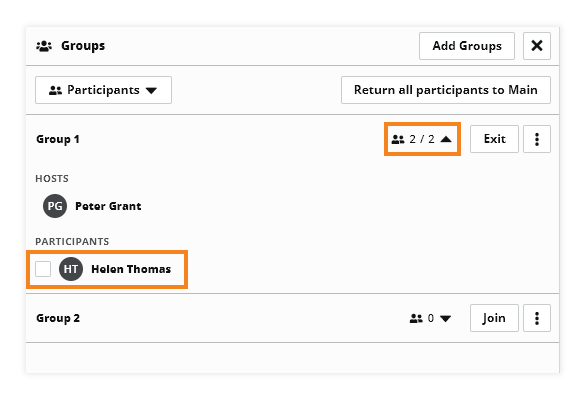
In order to see all of the hosts/participants in the group click here:
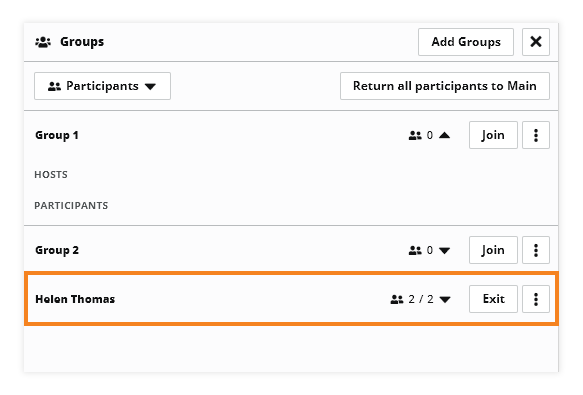
By clicking on the user’s checkbox you will have the option to move them to other groups or start a 1-on-1 group:
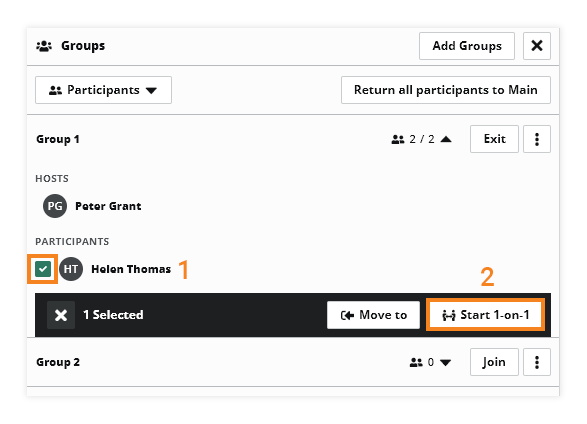
By choosing the 1-on-1 option a new group will be created with the name of the user and will automatically reassign the user and the host to the group:
Note: Participants who are allocated to 1:1 groups can return only to the main groups by themselves.
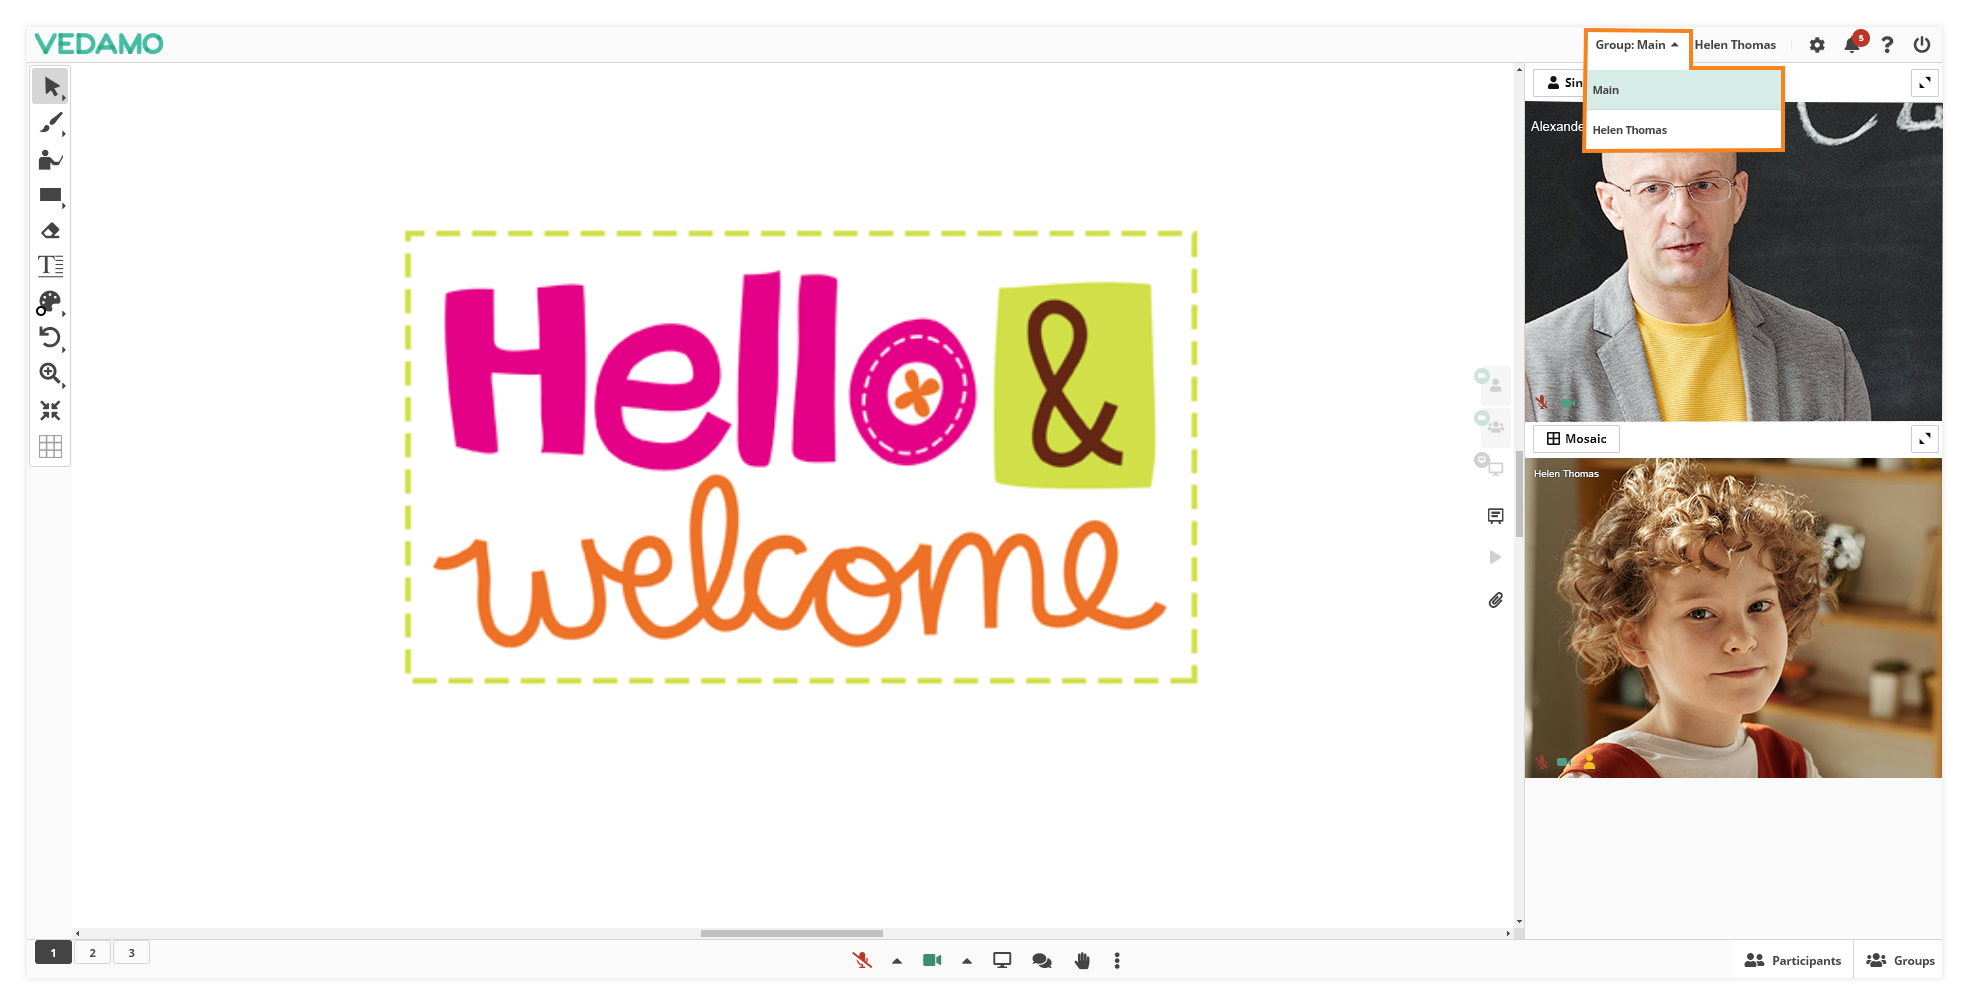
Participants can switch between groups that they are already assigned from here:
Video conference connection in groups
When you switch to another group only the people who are currently in the same group can hear and see you.
NOTE: The host can assign participants to a group, but they should switch/come to that group in order to hear or see you because if assigned they will not be automatically be redirected to that group, instead they can go to the desired (assigned by the host) group by themselves.
Permissions and controls in groups
Every group has its own set of permissions.
Note: Some permissions are Global and some are for the Group only.
Switching between several Groups
Switching Groups is easy – just select the group you wish to go to from the Groups list and press the “Join” button. You can exit the current group via the “Exit” button. Just remember that participants can go only to groups that they have been assigned to.
By default, the first group is the Main group. It is created when the room is started.
Note: The Main group cannot be renamed or deleted.
The host can return all participants to the Main group if the “Move all participants to Main” button is clicked:
Online whiteboard in groups
Every group has a separate online whiteboard and the content on it is visible only to the participants who are in that particular group.
Note: If you delete the Group all its content will be lost.
Copy content from one group to another
Select the elements you wish to share in the other group and Copy them.
Then switch to the destined Group and Right-Click -> Paste in Place
Note: Participants can copy or move only their own elements unless they have permission to Edit Objects Created by Others. When granted this permission, they can copy/move any element on the online whiteboard.
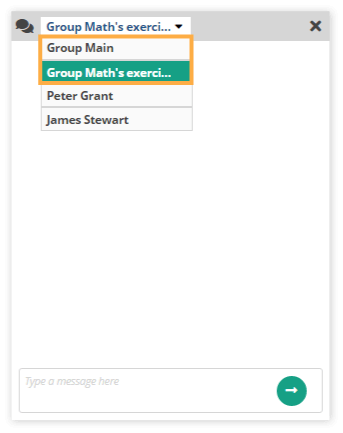
Chat in Groups
Every group has its own chat and the content on it is visible only for the participants who are in that group.
Removing participants from groups
To remove a participant from the group select the user and click on the “Move to” option to choose what happens to the user.
Alternatively, if you delete the group the user will be sent back to the Main group.
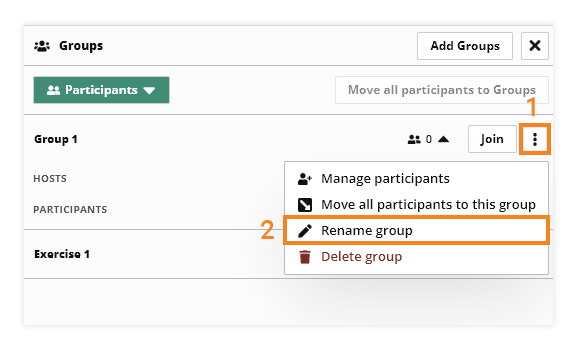
Rename a group
Renaming a groups is easy, just locate the three dots icon button and press the “Rename group” option. Then just type the new name of your group and press the tick button.
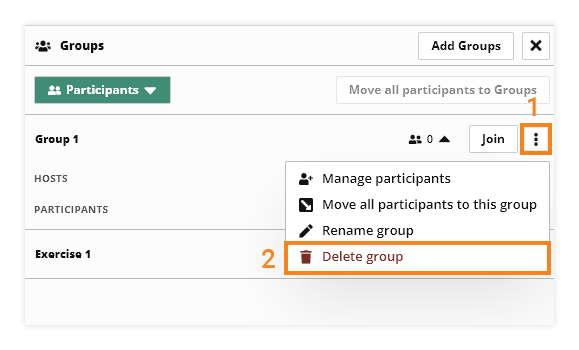
Delete a Group
You can delete any group, except for the Main one, including all their content and settings.
NOTE: Once you delete a Group, you cannot restore it.
In order for you to delete a group, go to the Groups section, select the desired group, and then press the Delete group button (Recycle Bin icon) next to the group name.