Virtual Classroom – System Check: Microphone
The sixth step of the process, the microphone check, determines whether your microphone is working properly and checks if you can record audio with it. Also, your internet connection is being checked.
Troubleshooting tips for the microphone check
- We recommend that you use a headset in order to avoid excessive feedback.
- Check and make sure that the microphone plug is well and fully inserted into the correct jack.
- Some microphones have a plug that resembles one of headphones/speakers. Make sure that you have inserted the right plug into the right jack. Pay attention to the corresponding symbols/colors.
- Check and make sure that your microphone is functioning properly. For instructions how
to do that see below. - Right-click on the speaker icon in the system tray, in the bottom right-hand corner, and select “Recording Devices”.
- Select the currently active microphone and click on “Properties”.
- A new window will open; go to the “Levels” tab.
- Check that you haven’t muted the microphone or sound (the indicator for this is a red icon).
- If you’ve muted the sound, drag the slider or click on the red icon.
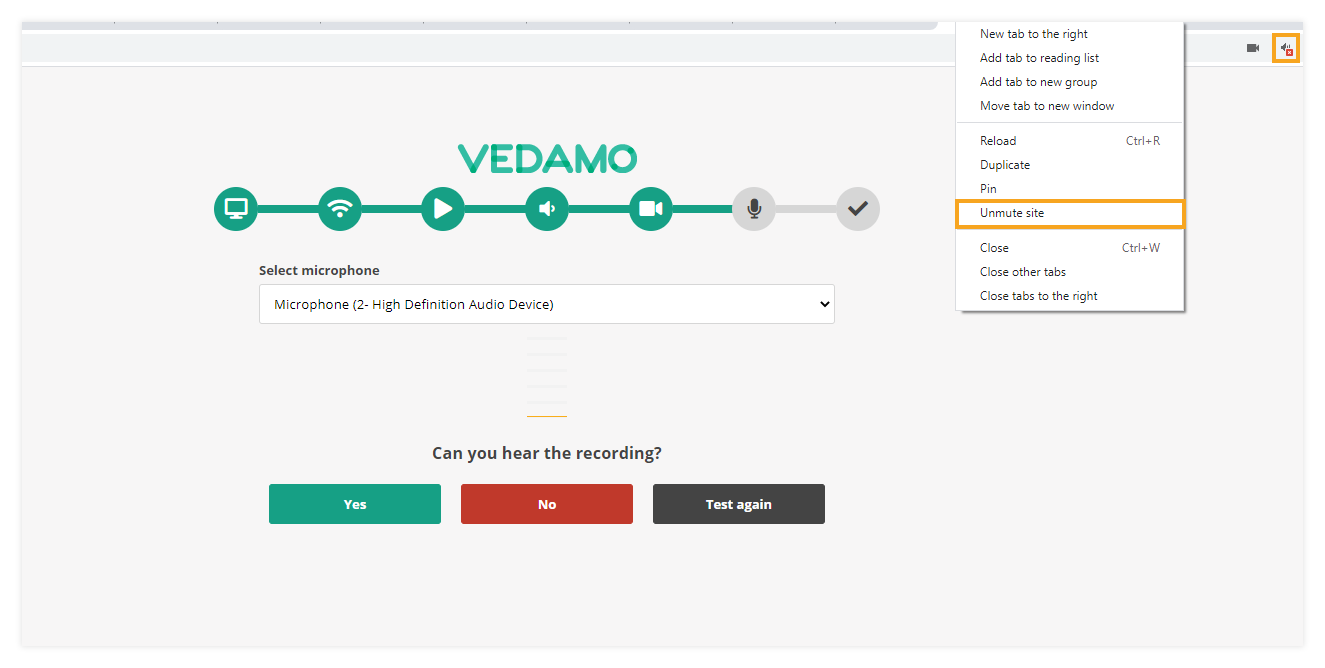
- Check and make sure you have allowed access to your microphone in the web browser
you are using. - Check that you haven’t muted your browser tab. Right-click on your browser’s tab name and make sure that it is not muted.
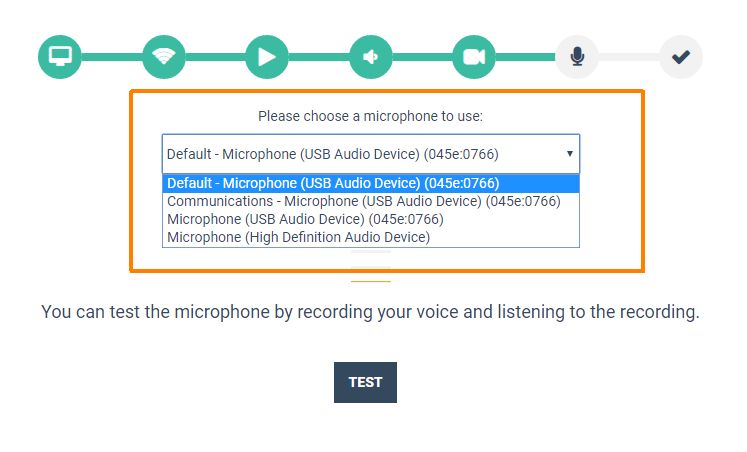
Change your microphone
If you have more than one microphone you may change it drop the drop-down menu that appears on this step:
Allowing the browser to use the microphone.
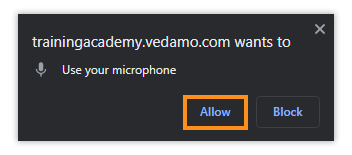
- Google Chrome
When the confirmation window appears, choose “Allow” to allow access to your microphone and continue further.
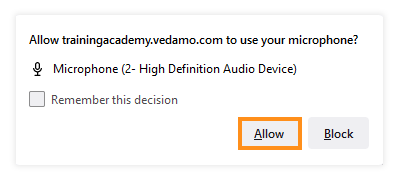
- Mozilla Firefox
When the confirmation window appears, choose the active microphone and choose “Allow” to continue further.
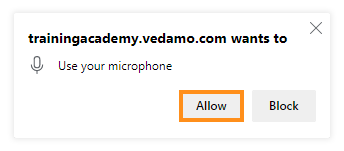
- Microsoft Edge
When using Microsoft Edge a pop-up message will appear indicating that you will have to allow your browser to use the microphone. You will have to click “Allow“.
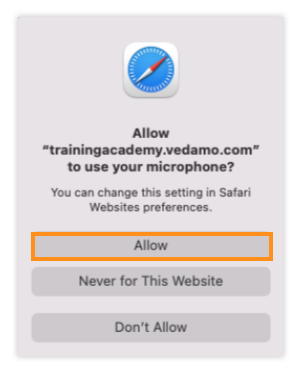
- Apple Safari
Allowing your browser to access the microphone while using a Mac device with Safari can be done if you press “Allow” on the confirmation window that appears during the microphone check.