Introduction
The Premium Virtual Classroom Subscription provides multiple functionalities in addition to the free virtual classroom plan. You may invite up to 50 participants to your session. You will also gain access to the file library, where you may upload the files you need for your lessons. Furthermore, you can choose to record your sessions and download the recordings afterwards. Finally, you have the option to brand your virtual classroom with a custom logo of your choice. To subscribe to the premium plan, follow the steps outlined below.
Step 1:
To start the process, click on the Pricing button on the Vedamo homepage.

Step 2:
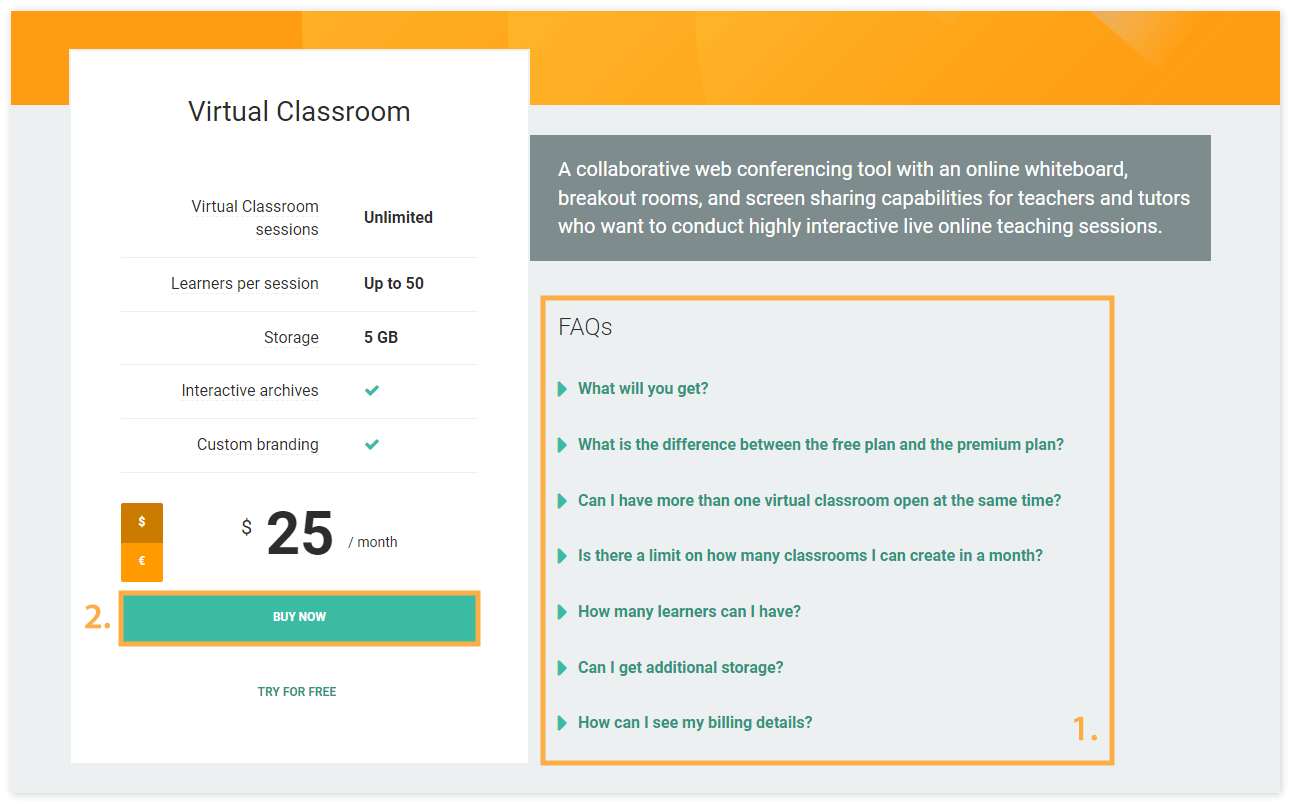
The pricing page offers detailed FAQs (1), which you should read to get an idea of what you are purchasing and the features the premium subscription package provides.
Click on the Buy Now button (2) to start the subscription process.
Step 3:
From this page you will be able to configure your Virtual classroom plan: whether you want any additional storage besides the already given and choose between monthly or yearly subscription.

Step 4:
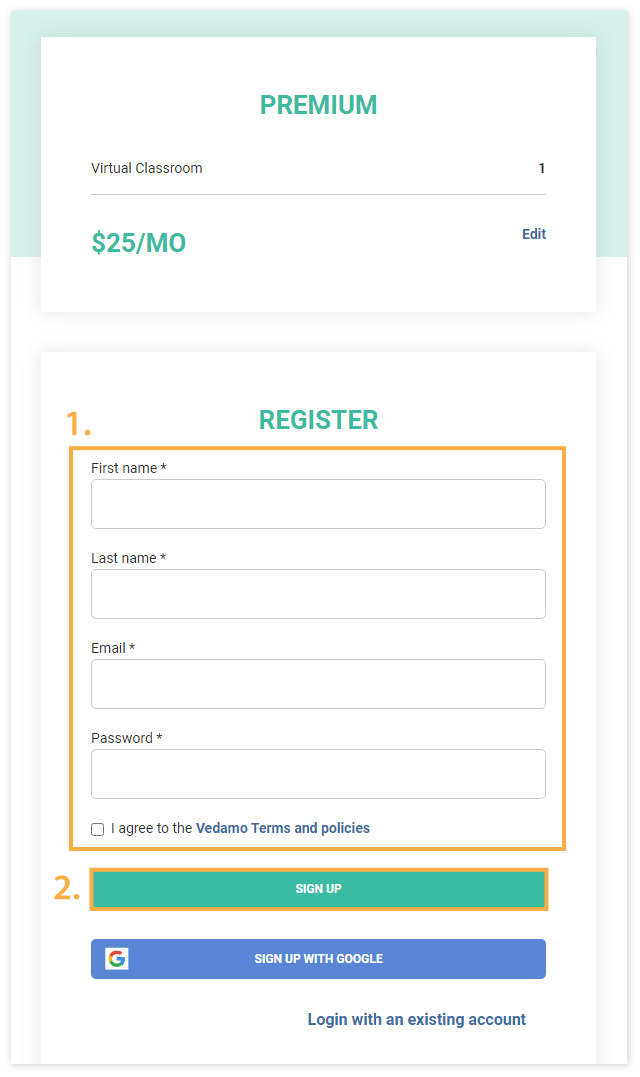
Fill in your Account information (1) in order to create your account. All fields need to be filled in in order to proceed with the registration.
The blue link (Vedamo Terms and Policies) will let you read the terms of usage of our website and services. Please familiarize yourself with them before registering.
Also, don’t forget to click the box next to Vedamo Terms and Policies as you need to give your consent.
Click on the SIGN UP button (2) when ready to proceed to the next step.
Step 5:
On this page, you will have to select the desired currency as well as the type of subscription (monthly or yearly).
After that, you will have to select the ADD CREDIT/DEBIT CARD button in order to proceed.
Step 6:
The next step is the processing of the payment for your subscription. The page will look as follows:
First, enter your email, then you have to fill in the credit/debit card information, the country/region, and the CVC number.
Once done, click on Save card to process the payment.

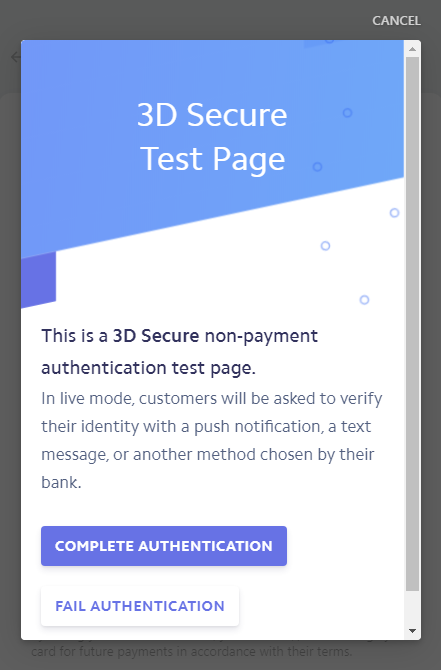
Step 7:
The next step will concern only those who have 3D security on the card that’s being used.
Just press “complete authentication“.
Step 8:
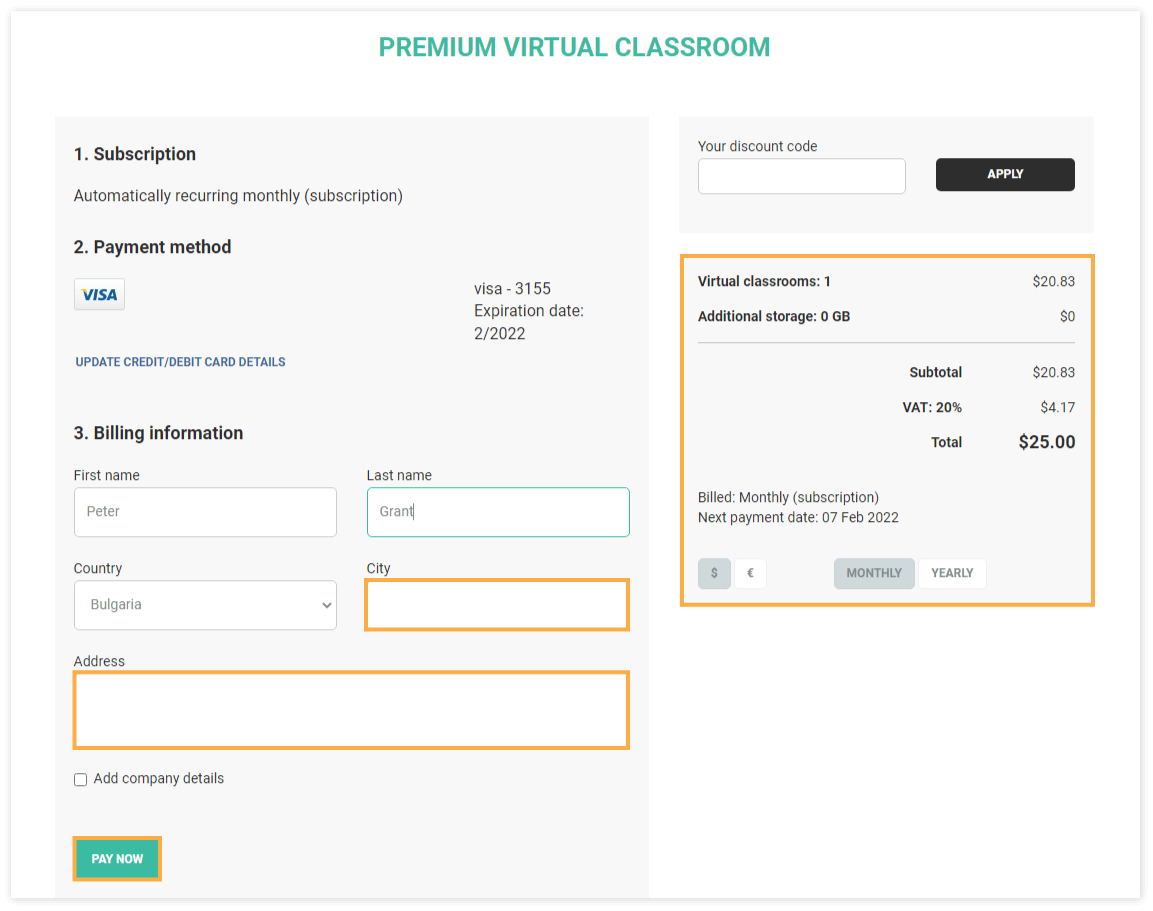
On the next page, fill in your City and address. The Order summary section of the page gives you a breakdown of the order.
You can tick the Add company details box in case you need to include company details for your invoice.
Finally, click on CONTINUE to move to the purchase page and enter your card details.
Step 9:
Once the payment has been processed, you will arrive at a success page. Here you can get the invoice for your payment through the DOWNLOAD YOUR INVOICE (1) button.
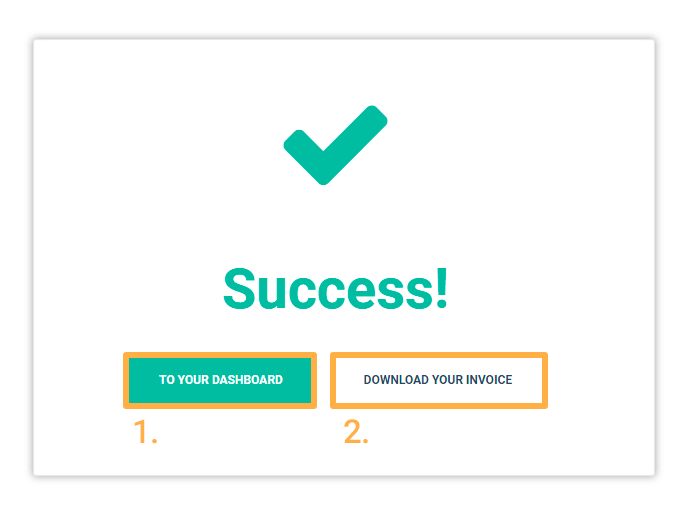
Once ready you can click on the TO YOUR DASHBOARD button (2) and the system will send an email to your email address. Click on the link in the email. The email should arrive within a couple of minutes. If you don’t find it in your Inbox, please check your Spam folder. This will confirm your email and direct you to your newly created Virtual Classroom account.
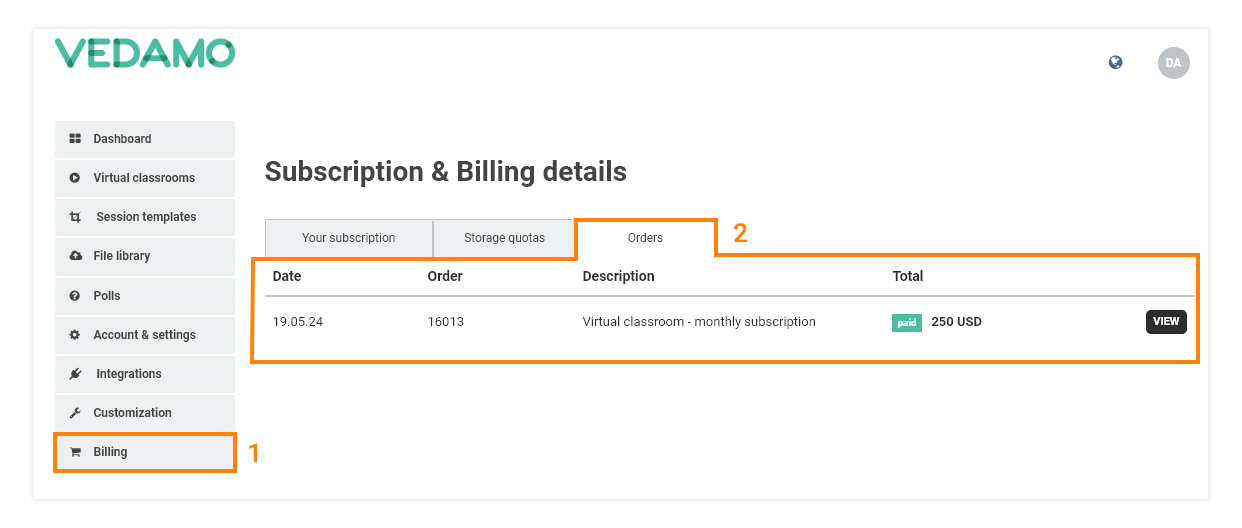
You can access your Invoices at any point by going to the Billing menu and then clicking on the Orders tab.