Templates management
Templates management in the LMS is a feature of the premium subscription plan. The Templates menu gives you multiple options for managing the templates you have created within the virtual classrooms you have opened. You can create, edit, delete and share templates within your Learning management system through here.
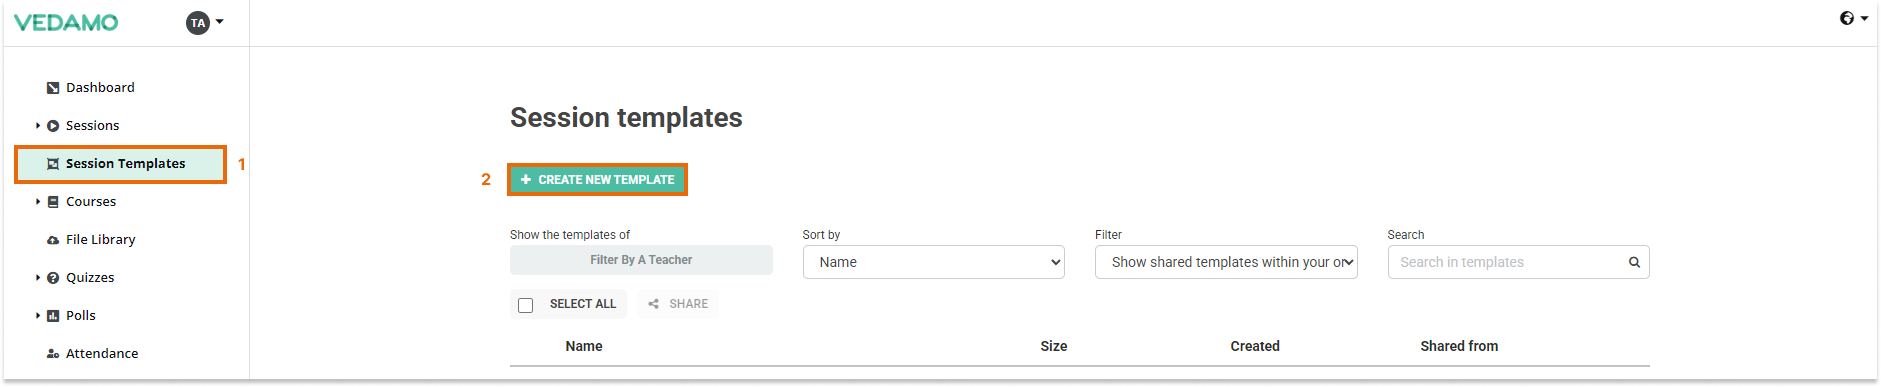
Templates management menu
Organizations, Administrators and Teachers can also access the Templates menu by clicking on the Session Templates menu. The menu allows you to rename, sort, share and delete templates with other teachers from your Learning Management System.
Clicking on the + Create new template button will open a virtual classroom where you can create a template and save it for later use.
Share Templates
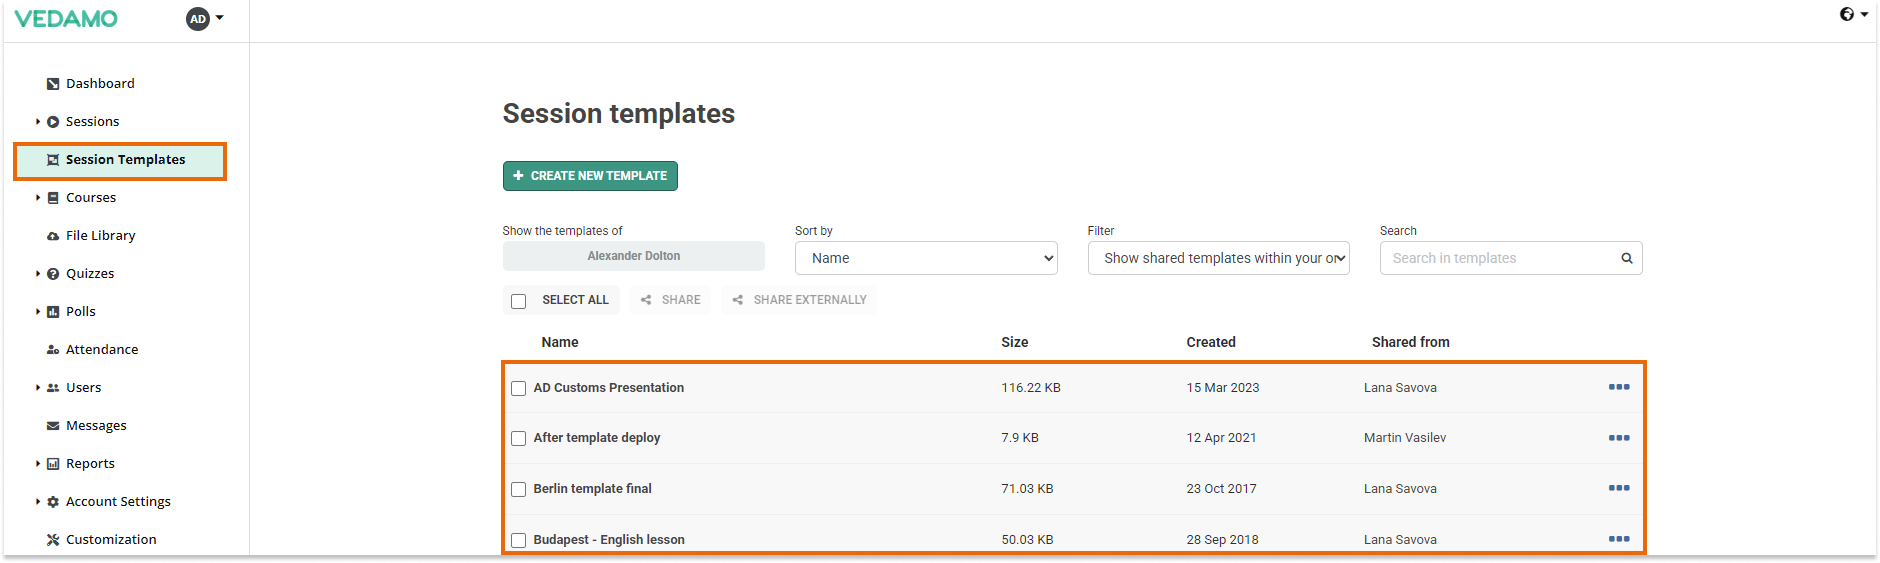
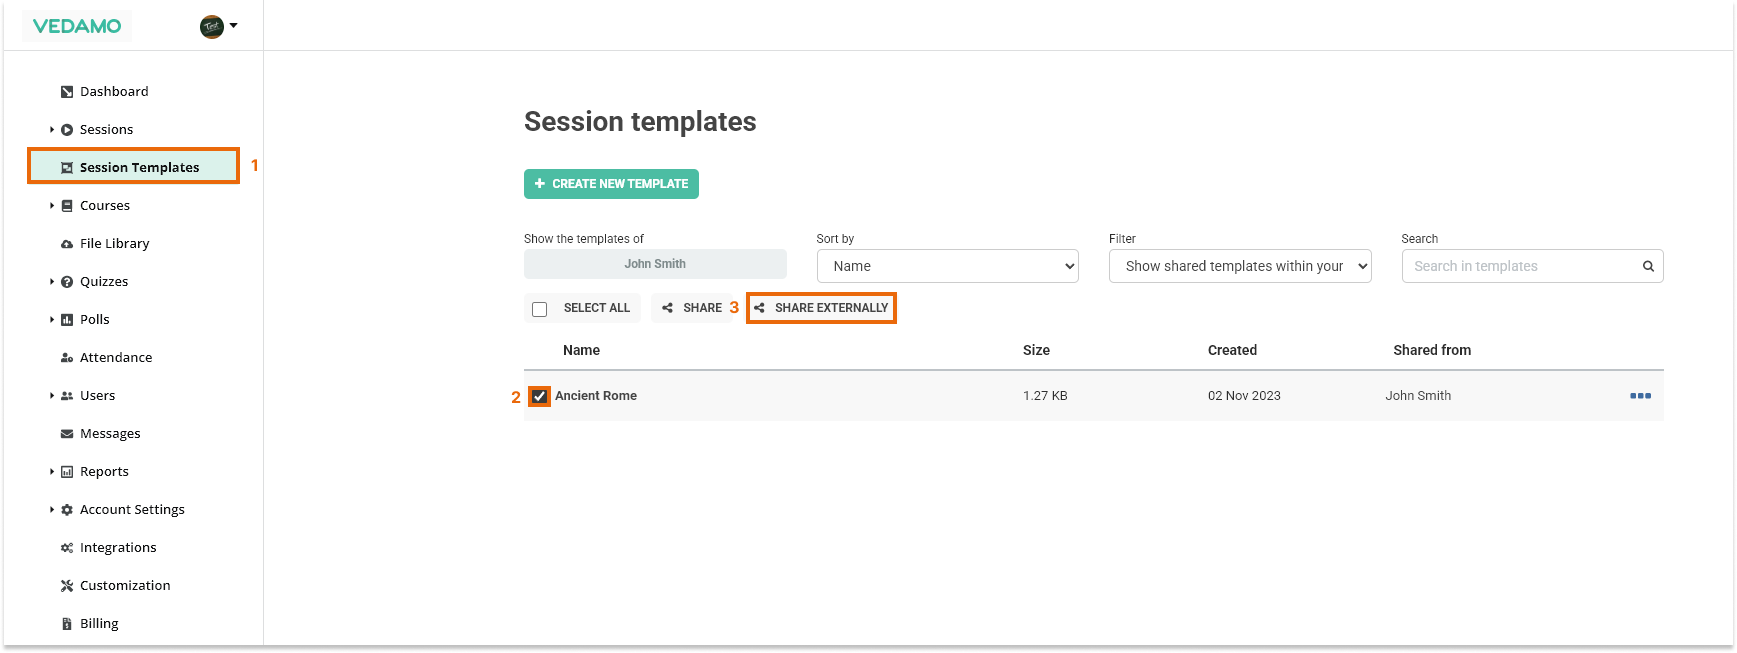
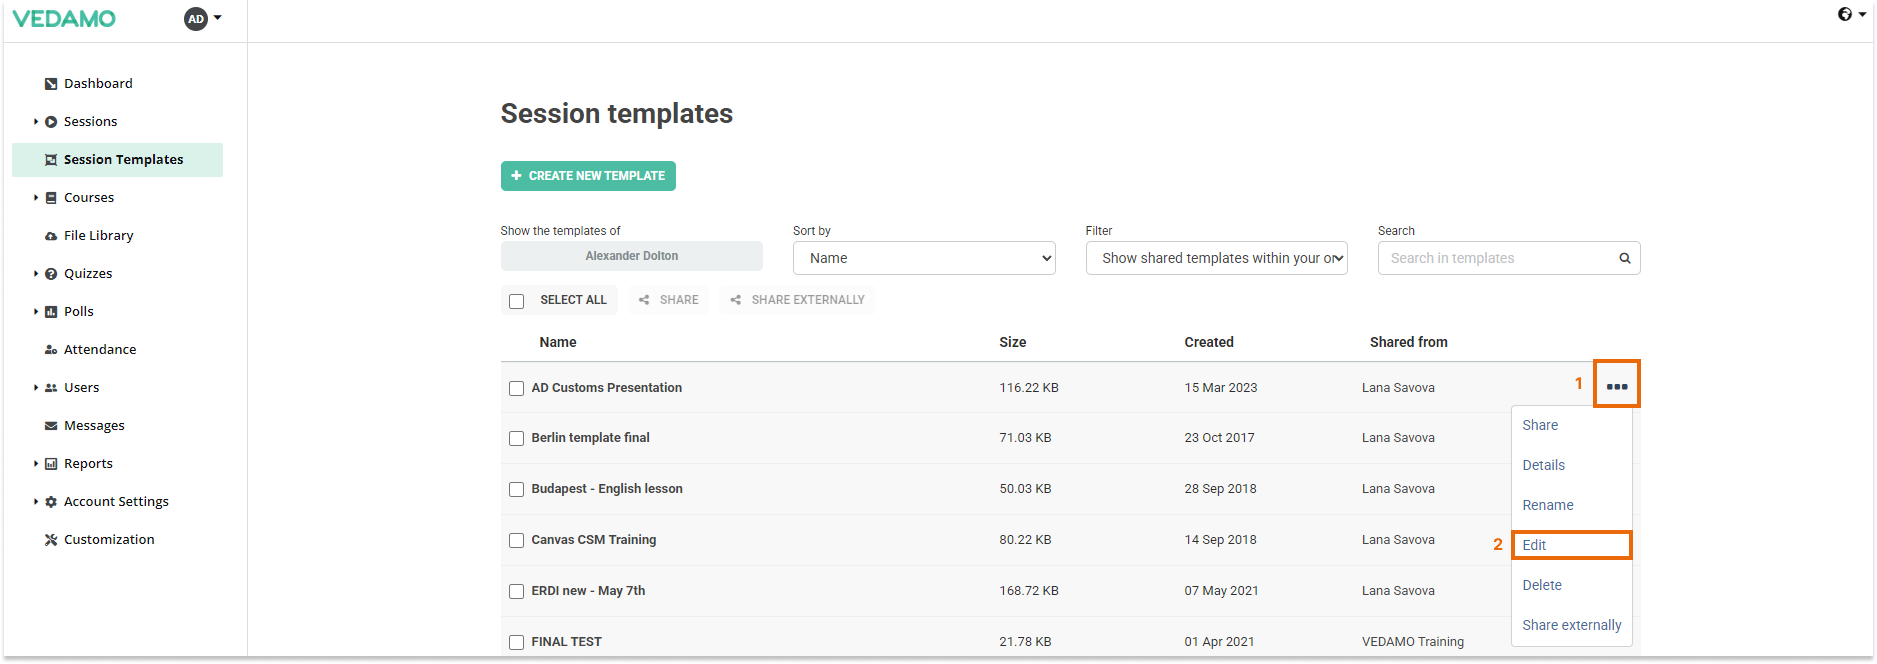
Go to the “Session Templates” section on your dashboard to see the list of the templates in your academy.
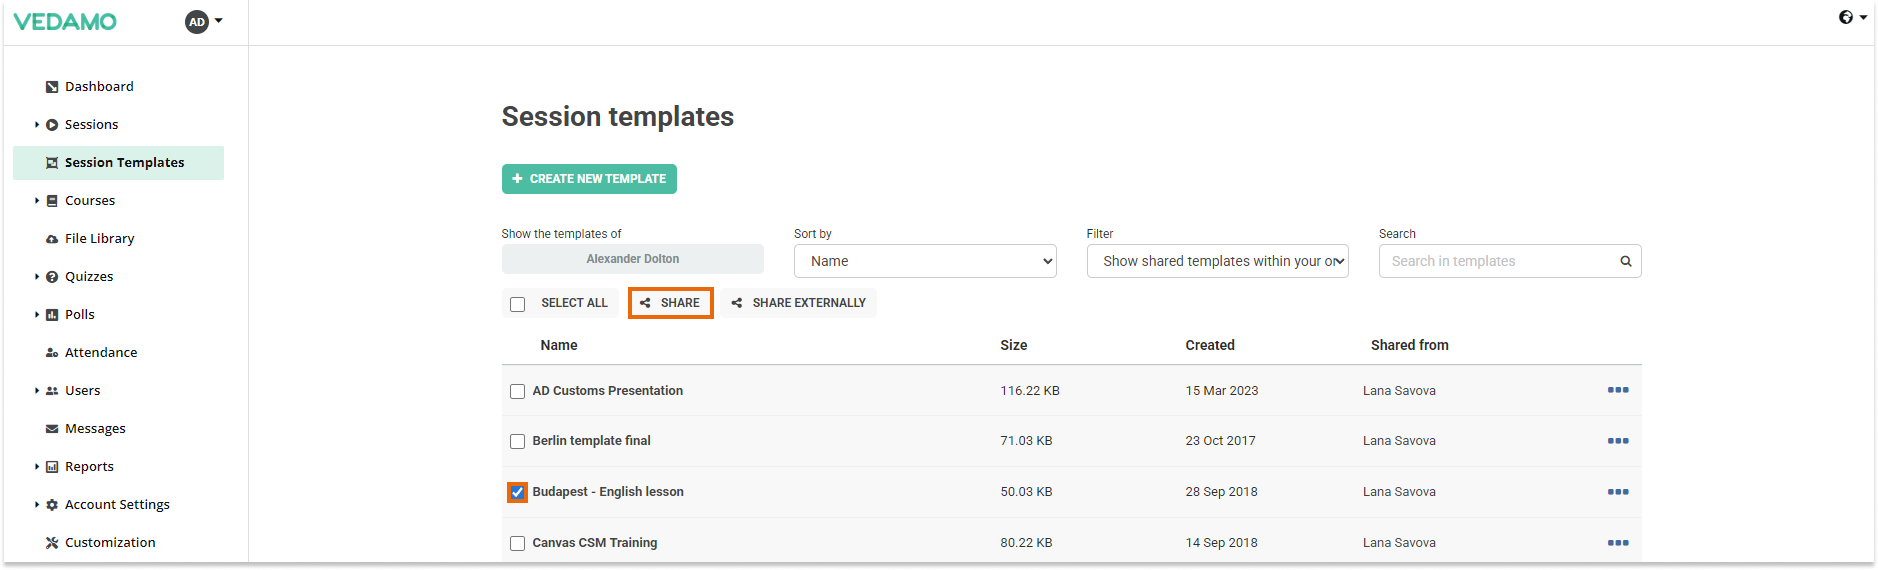
To share a template, mark the checkbox in front of the template’s name, and then the “Share” button will become clickable.
Or you can choose the three dots corresponding to the particular template, and select the “Share” option.
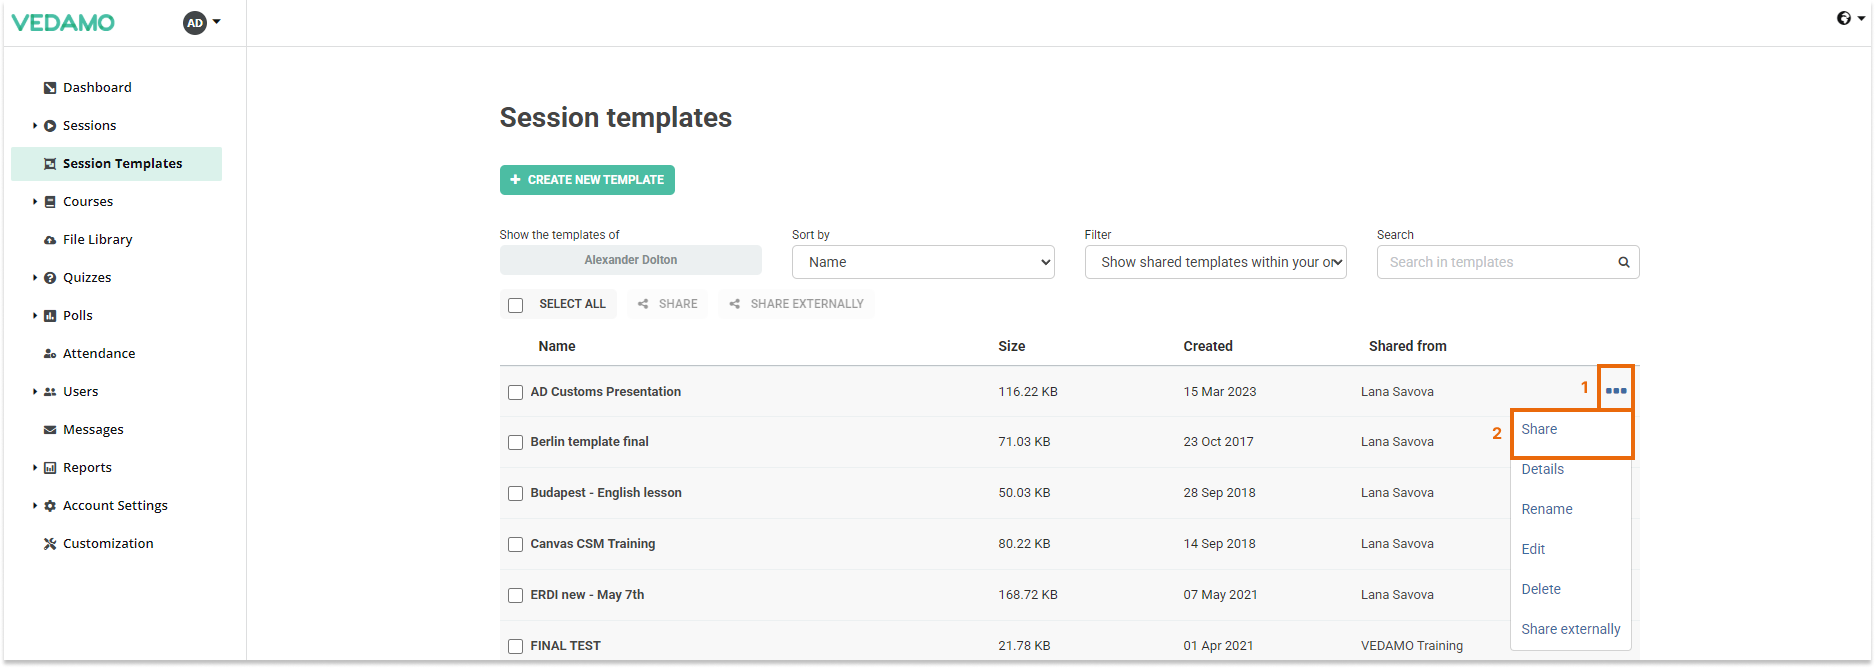
When you click on it, a new window will open.
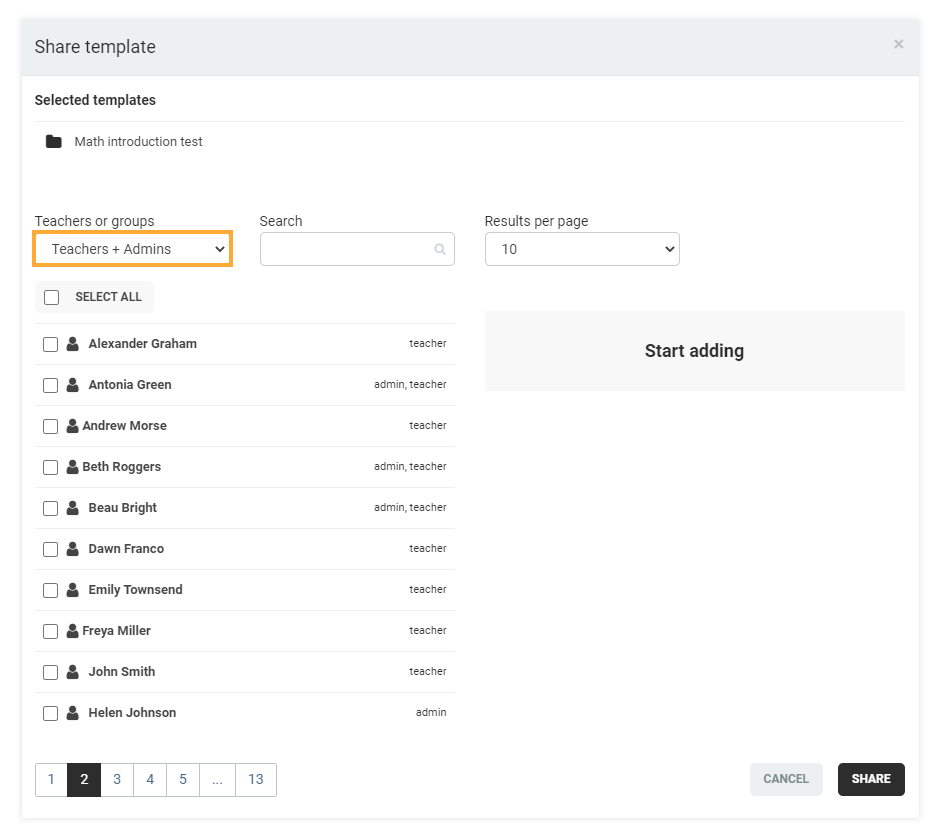
In the upper left corner of that window, you will see the name of the template you are trying to share. There’s a “Select teachers or groups” drop-down menu under the name of the template, which defines the list of the users shown below (by default the “Teachers + Admins” option is selected).
You can share the template with pre-created groups of users as well. To see the list with the groups select the “Groups” option from the drop-down menu. The owner of the organizational account and the admins will see all of the groups created in the academy. The teachers will only see the groups they are part of.
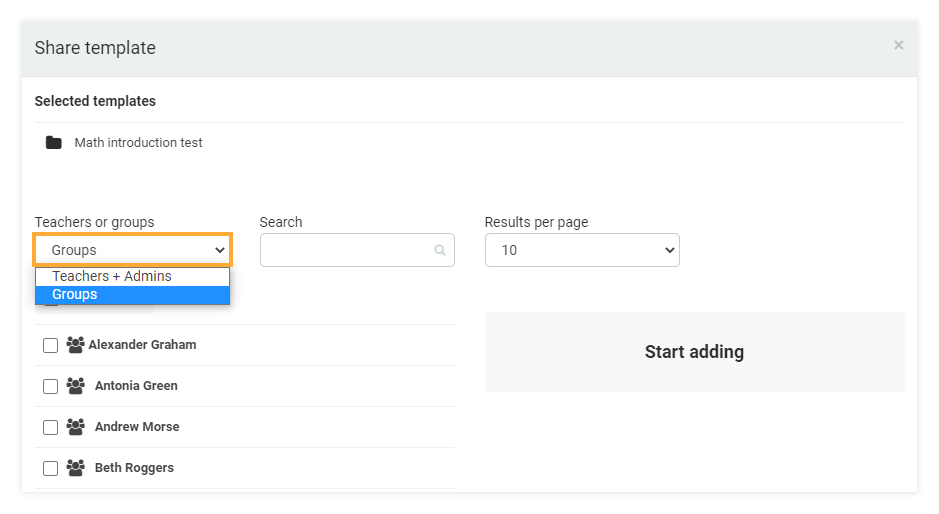
Note: Groups of users can be created only by the owner of the organizational account and the admins. How this is done you can be read in the “LMS User Groups” article.
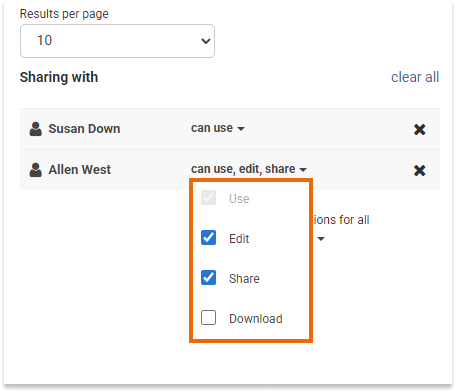
Next, select the users (or groups) with whom you would like to share the template. All of the selected users/groups will be visible on the right side of the window. Then select the permissions these users (or/and groups) will have regarding this particular template. You can choose whether they will be able to:
- Use
- Edit
- Share
- Download
The default state is “use”. If you want to permit someone to use, edit and share just select all of the options.
In case you have selected too many users to share the template with, and would like them all to be able to edit and share for example, but don’t want to waste precious time in changing the permissions for each one of them individually, you can use the “Permissions for all” option.

When ready, click on the “Share” button.
Note: When a teacher shares a template that has been shared with them by another person, they (this teacher) can only set permissions that were previously given to him. For example, if Teacher 1 shares a template with Teacher 2, and sets the permissions to “use and share”, Teacher 2 can share this template with Teacher 3, but they will not be able to change the permissions to “edit” since Teacher 1 didn’t allow that to Teacher 2.
Share Templates with other academies/organizations
You can also share templates externally with another academy/organization. To do that go to the “Session Templates” menu, select the file and select “Share externally”:
A new window will open where you will need to put the email address of the other organization’s admin.
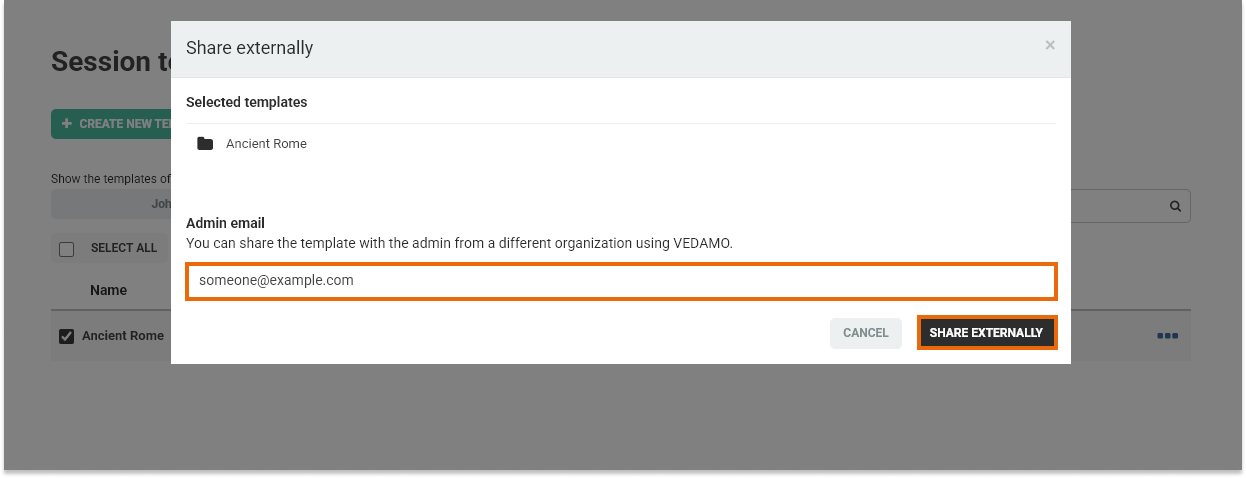
After the template is shared the admin will receive an email which they need to confirm in order to use the template without their academy.

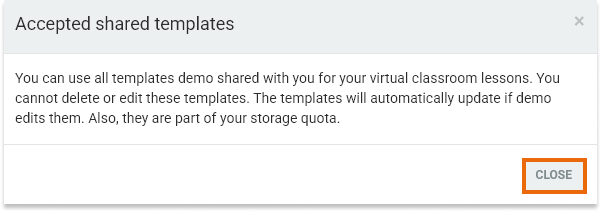
Below are the terms of use after accepting the shared template.
Templates details
Clicking on “Details” (in the three horizontal dots in the list of templates on the dashboard) opens the summary of the template. The owner of the organization as well as the admins can see the name of the creator of the template and the users with whom the template is shared.
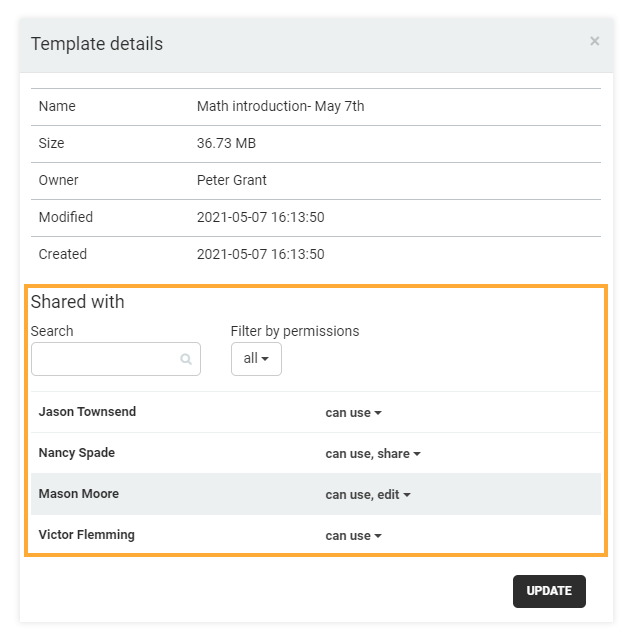
All of the teachers can see the name of the person who shared the template with them (this may not be the creator of the template). Teachers can see in the list only those people they have shared the template with and their rights to manage it.
Rename a Template
From the three dots, you can also rename the template and/or edit it.

Edit a Template
In the Sessions Templates tab by selecting the “Edit” option a Virtual Classroom will open (templates only), where you can make your changes. Once you are done editing, click the three-dot sign, and then you will have to press the “Update” button (or “Create template” if you want to keep the original one and make an updated copy of it).
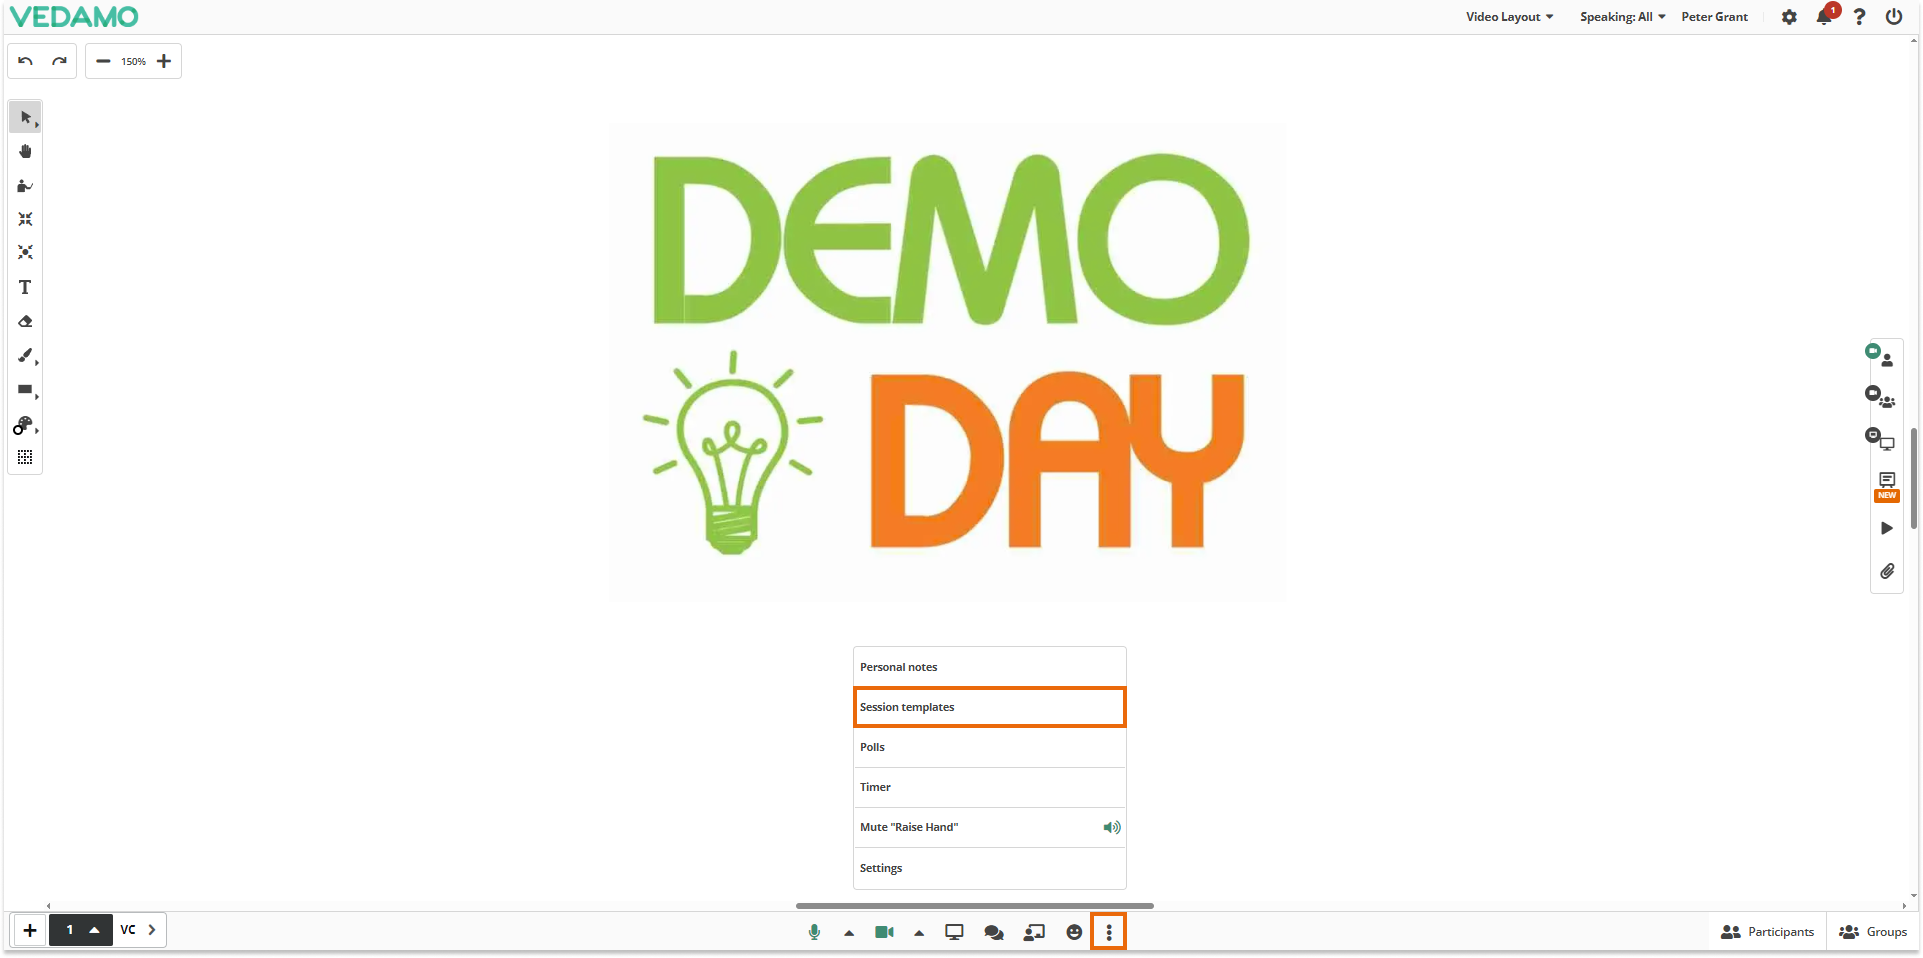
Note: Templates can be edited even from a stand-alone Virtual session (besides the “Edit” option discussed above) by finding the “Session templates” option and loading the template you want to edit.
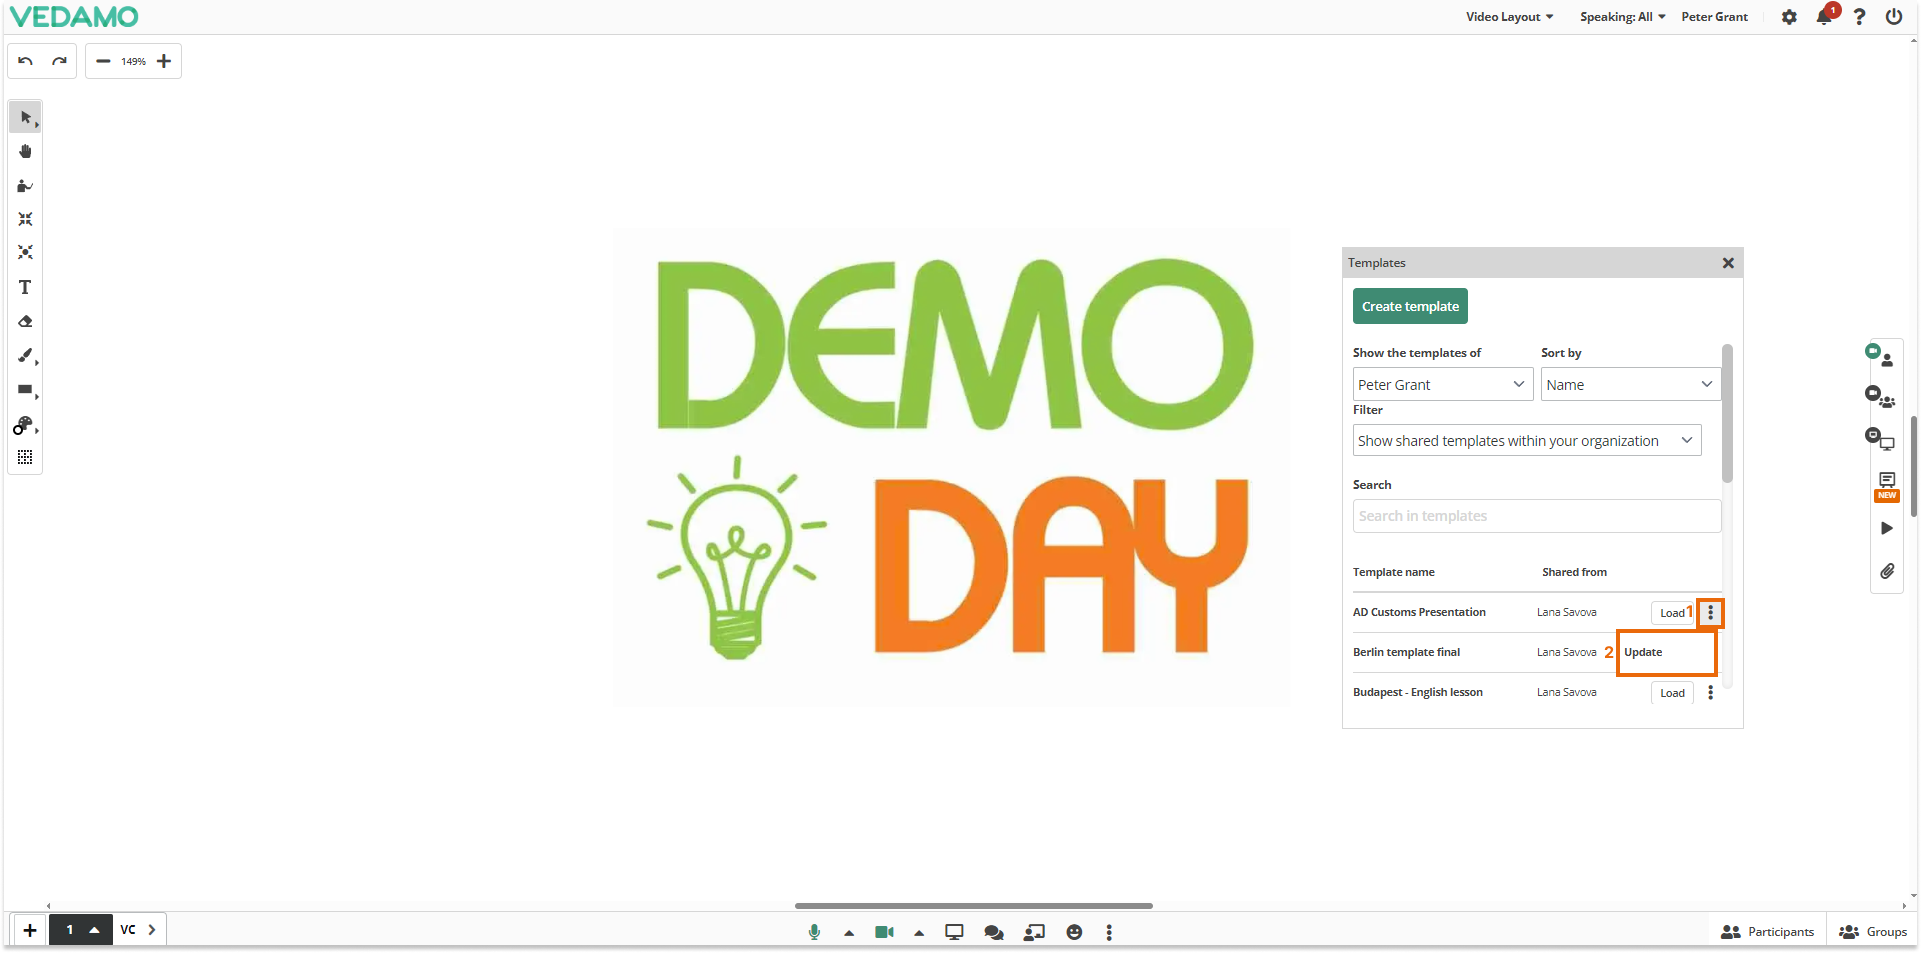
After loading the correct template and making the changes you have to select the “Update” button in order to save the changes.
Delete a Template
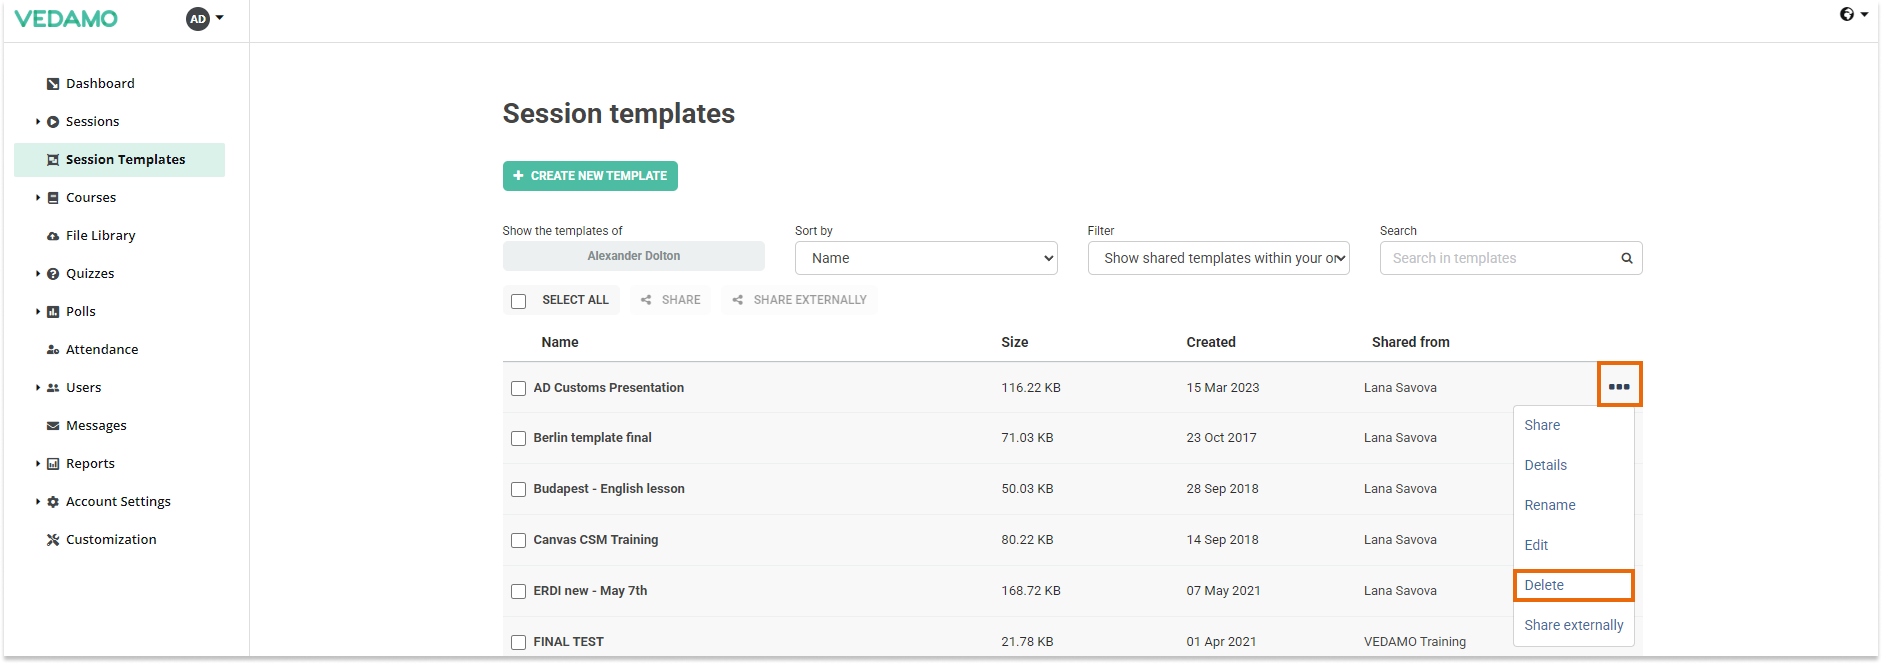
In order to delete a template, go to the “Session templates” tab. Find the template you want to delete in the list, and click on the three horizontal dots. You will then see the “Delete” option.
NOTE: Teachers can permanently delete their own templates only. If a teacher chooses to delete a template shared with them but created by another user, this action won’t erase the “original” template, but the shared copy only. The admins’ and organization’s accounts have permission to delete all templates, regardless of who the creator is.