Introduction
The Virtual Classroom system check allows you to test whether your software and hardware meet the virtual classroom’s technical requirements.
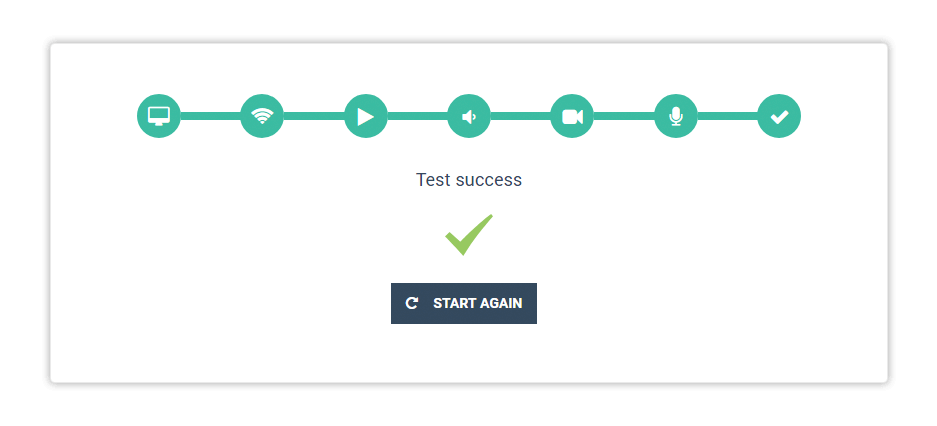
The system check contains 7 steps:
The final step is a confirmation that you’ve completed the check successfully. In case you experience any issues during the check, there are articles you can refer to by clicking on the name of the step above. The system check itself also contains links to the video tutorials and instructions included in the articles.
Virtual Classroom System check – in the room
Prior to entering the room, the platform will run a system check in order to determine whether your hardware and software meet the virtual classroom’s technical requirements. The system check runs every time you access the classroom.
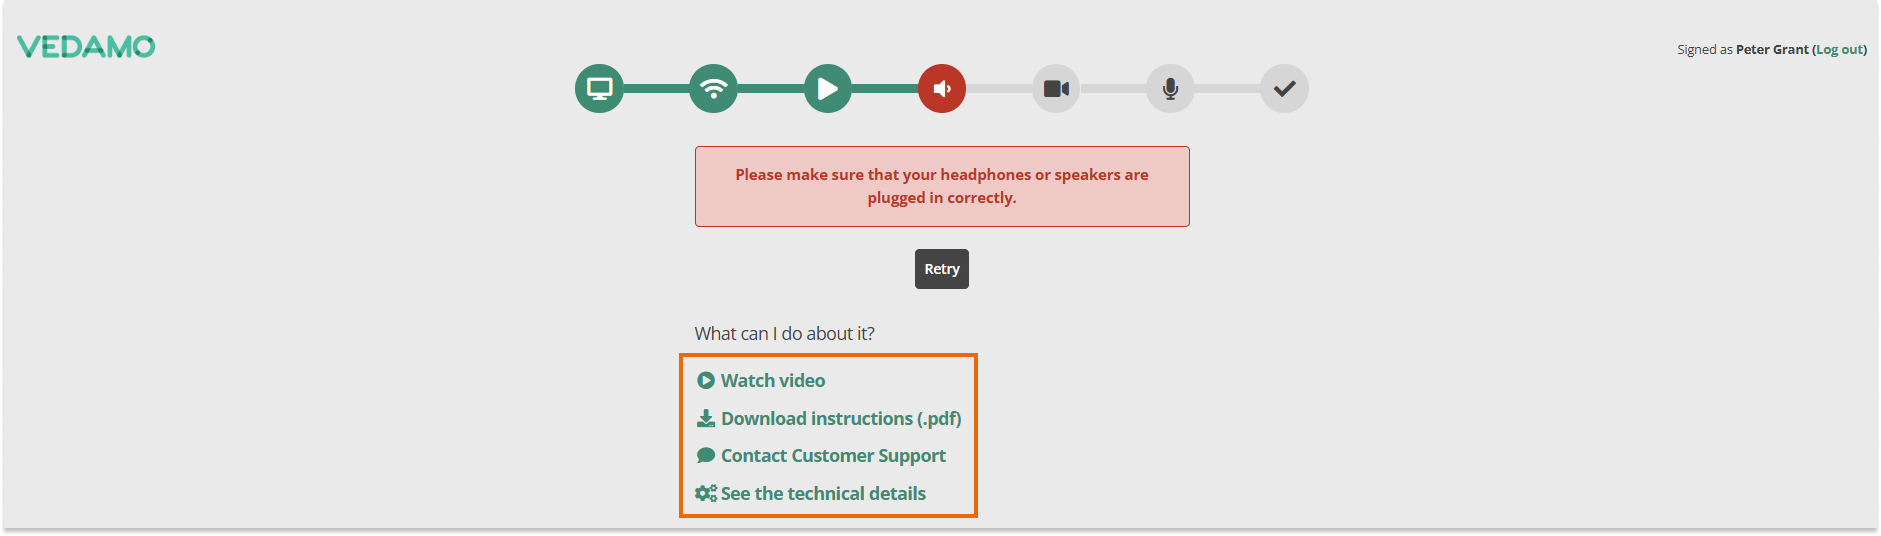
If you encounter any issues during the check there are instructions and video tutorials on each steps that you can use in order to resolve the issues.
During the microphone check, please talk into the microphone. You will be asked to confirm if you can hear the recording.
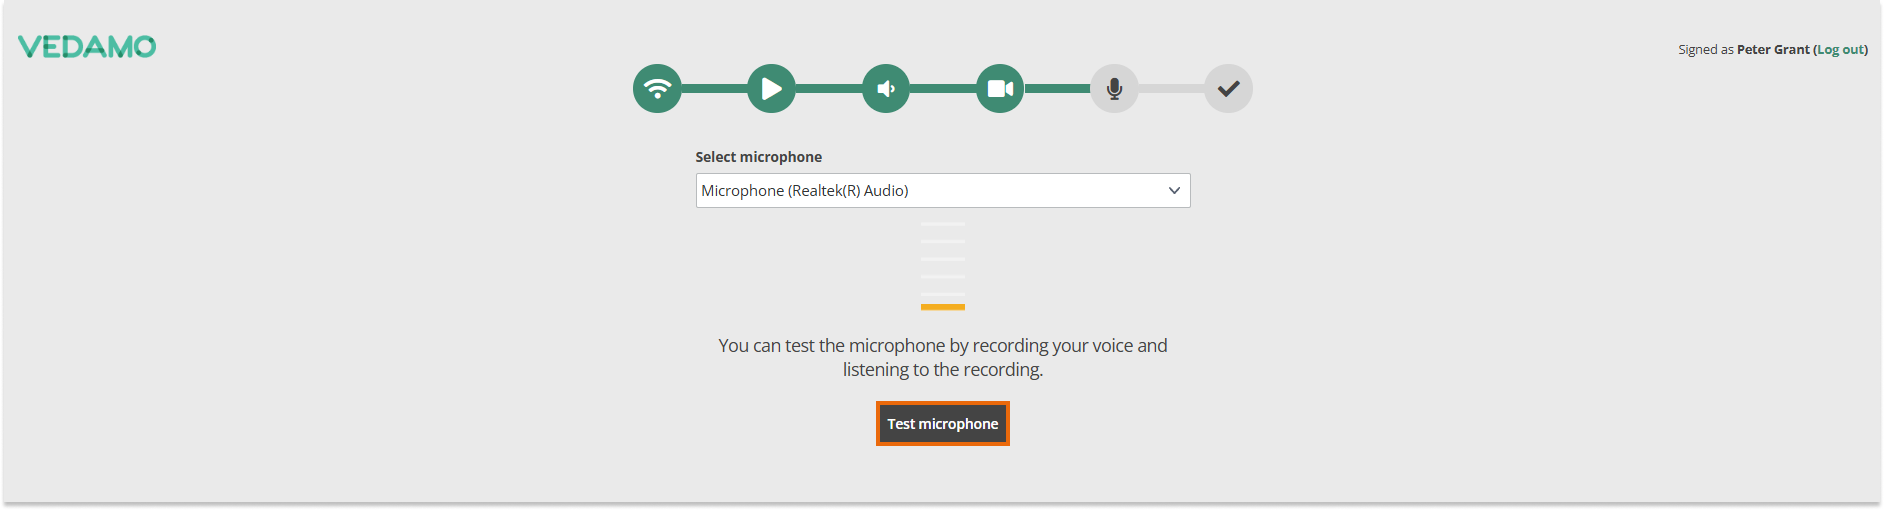
Speak into the microphone in order to proceed.
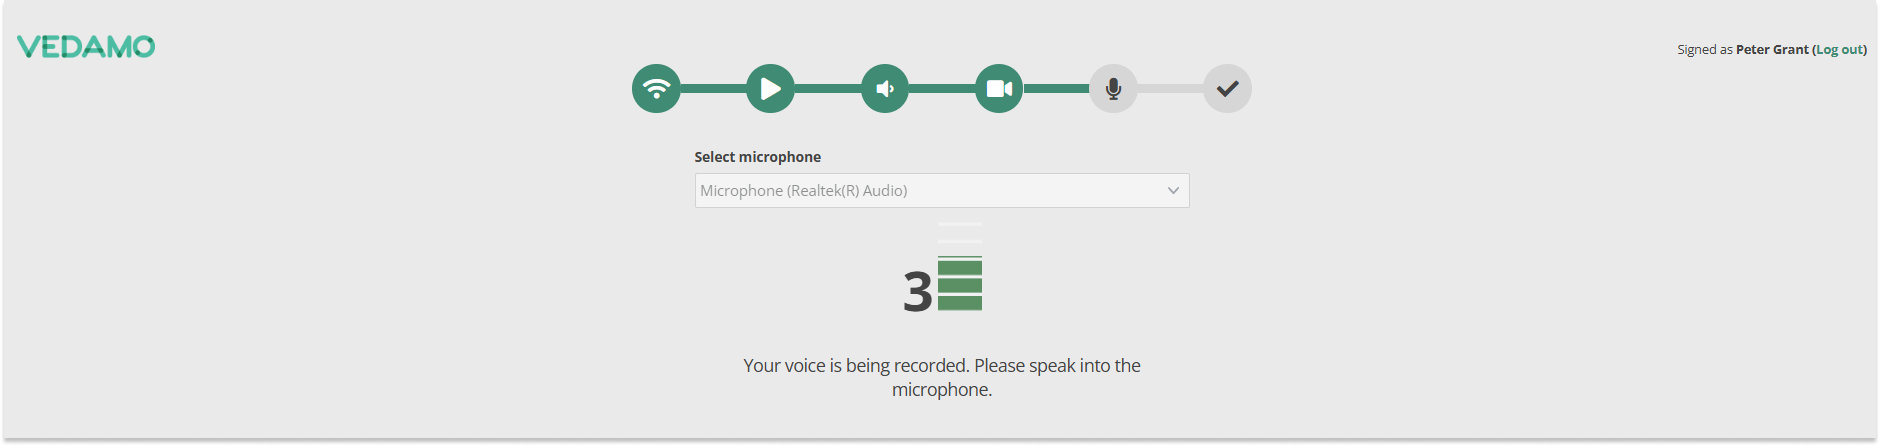
After successfully completing the system check you will enter the virtual room.

Alternatively, you can click the Check your system button on your dashboard (admins only).
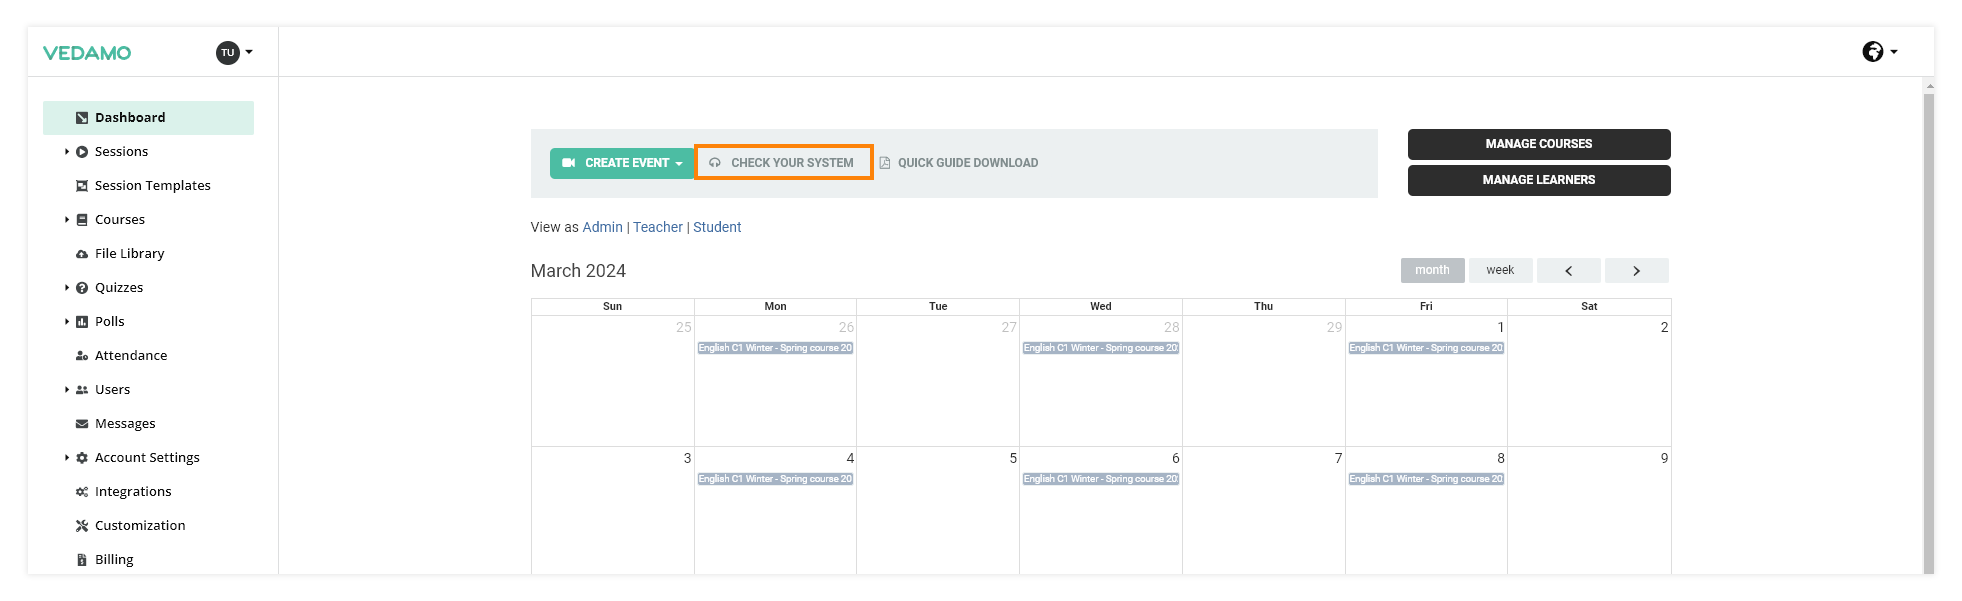
The system check outside the room would be useful to do an hour or so before your first live lesson with students or if you have made any software or hardware changes. This will give you enough time to contact our support team should you encounter any issues.
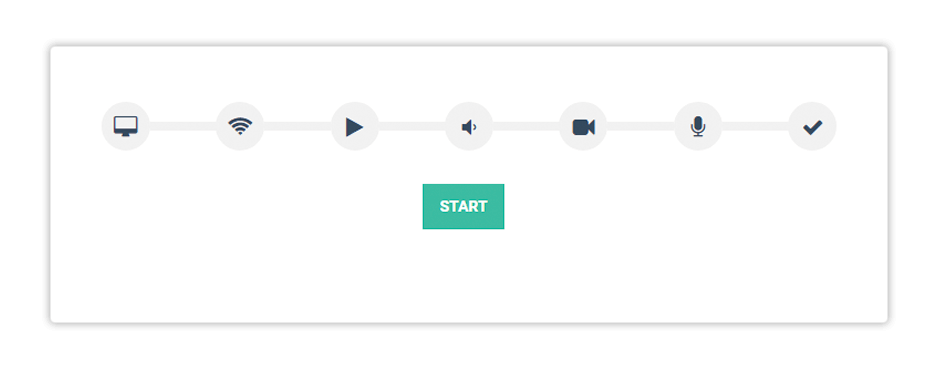
When you are ready to start the check, press Start.
The process is identical to the system check within the room. You will have access to helpful instructions and video tutorials in case you encounter any issues.